How to reduce image size is one of the most essential skills in today’s digital world. Whether you’re managing a website, sharing photos on social media, or simply trying to save storage space on your device, understanding the best methods to compress and optimize your images can save you time, bandwidth, and frustration. In this comprehensive guide, we’ll explore proven techniques and tools that will help you reduce image size without sacrificing quality. From image compression methods to file format selection, we’ll cover everything you need to know to master the art of image optimization. By the end of this blog, you’ll have all the knowledge and tools you need to effectively reduce image size for any purpose.
What Does It Mean to Reduce Image Size?
How to reduce image size involves two main concepts: image compression and resizing. Understanding the difference between these approaches is crucial before you start implementing any strategies to reduce image size. Image compression works by optimizing the way data is stored within the file, allowing you to reduce image file size without necessarily changing the dimensions of the photograph. On the other hand, resizing involves changing the pixel dimensions of an image, which directly reduces the number of pixels and thus the file size.
When you reduce image size, you’re essentially removing unnecessary data or decreasing the resolution to create a more web-friendly file. This process is vital for website performance, email sharing, and social media uploads. The goal is to find the perfect balance between file size reduction and visual quality, ensuring your images still look sharp and professional while loading faster. Most modern compression tools use advanced algorithms to achieve this balance automatically, making it easier than ever to reduce image file size without visible quality loss.
Why You Should Learn How to Reduce Image Size
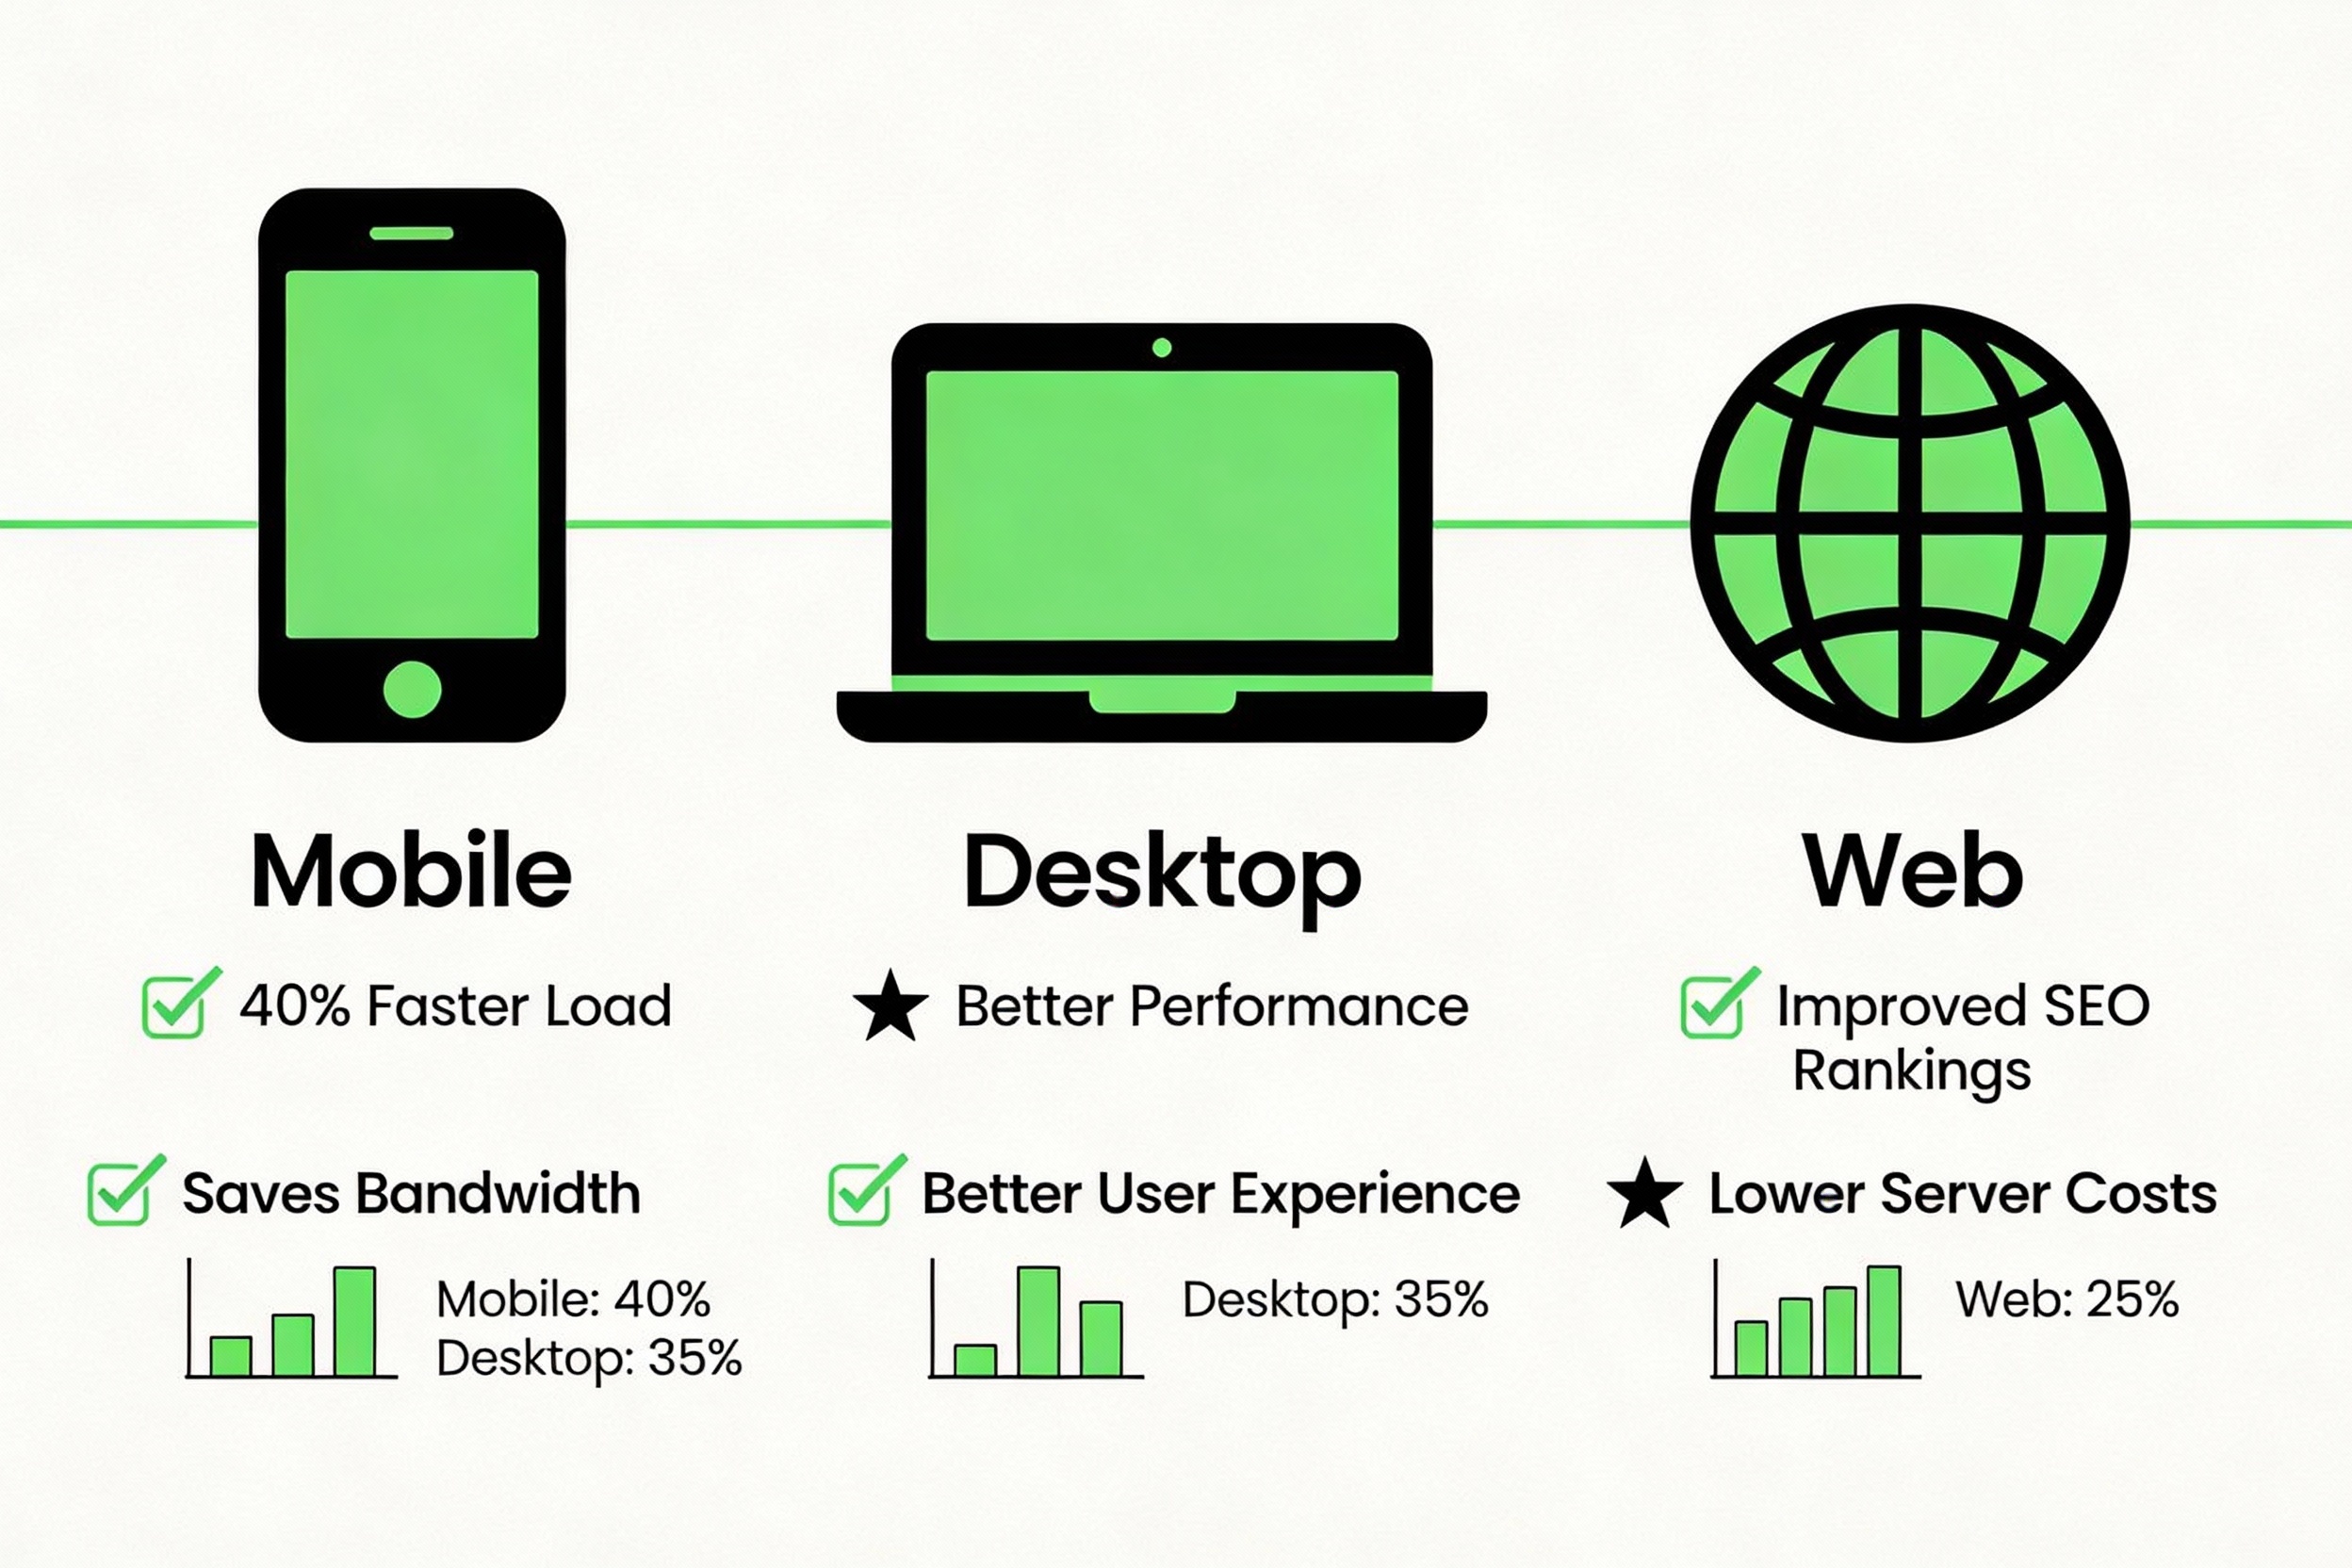
Learning how to reduce image size offers numerous benefits that impact both your users and your business. Larger image files slow down website loading times, which directly affects user experience and search engine rankings. Google has confirmed that page load speed is a ranking factor, meaning faster-loading pages (achieved through image file size reduction) can improve your SEO performance significantly. When you reduce image size, you also decrease bandwidth usage, which is especially important for mobile users with limited data plans.
Additionally, reducing image size helps you save storage space on your devices and servers. If you manage hundreds or thousands of images, the cumulative savings from image size reduction can be substantial. For content creators and marketers, understanding how to reduce image file size means you can upload content faster to your website, blog, or social media platforms. E-commerce businesses particularly benefit from image compression, as product images often need to be high-quality yet fast-loading to maintain user engagement and reduce bounce rates.
Method 1: How to Reduce Image Size Through Compression
Using Online Compression Tools for Quick Results
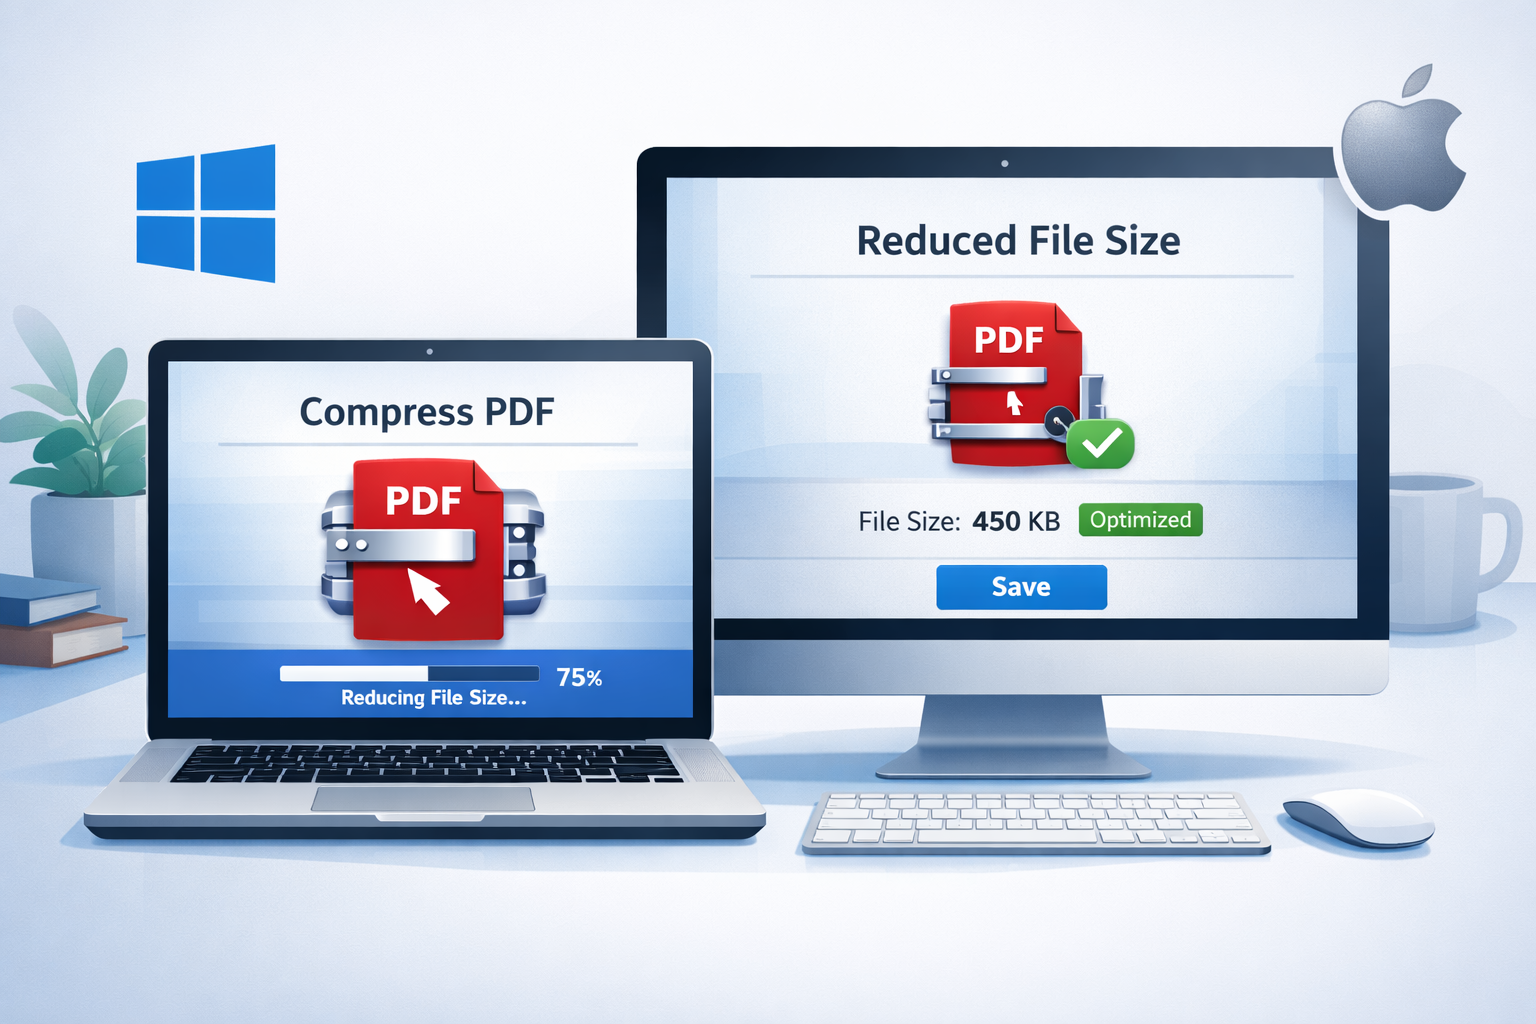
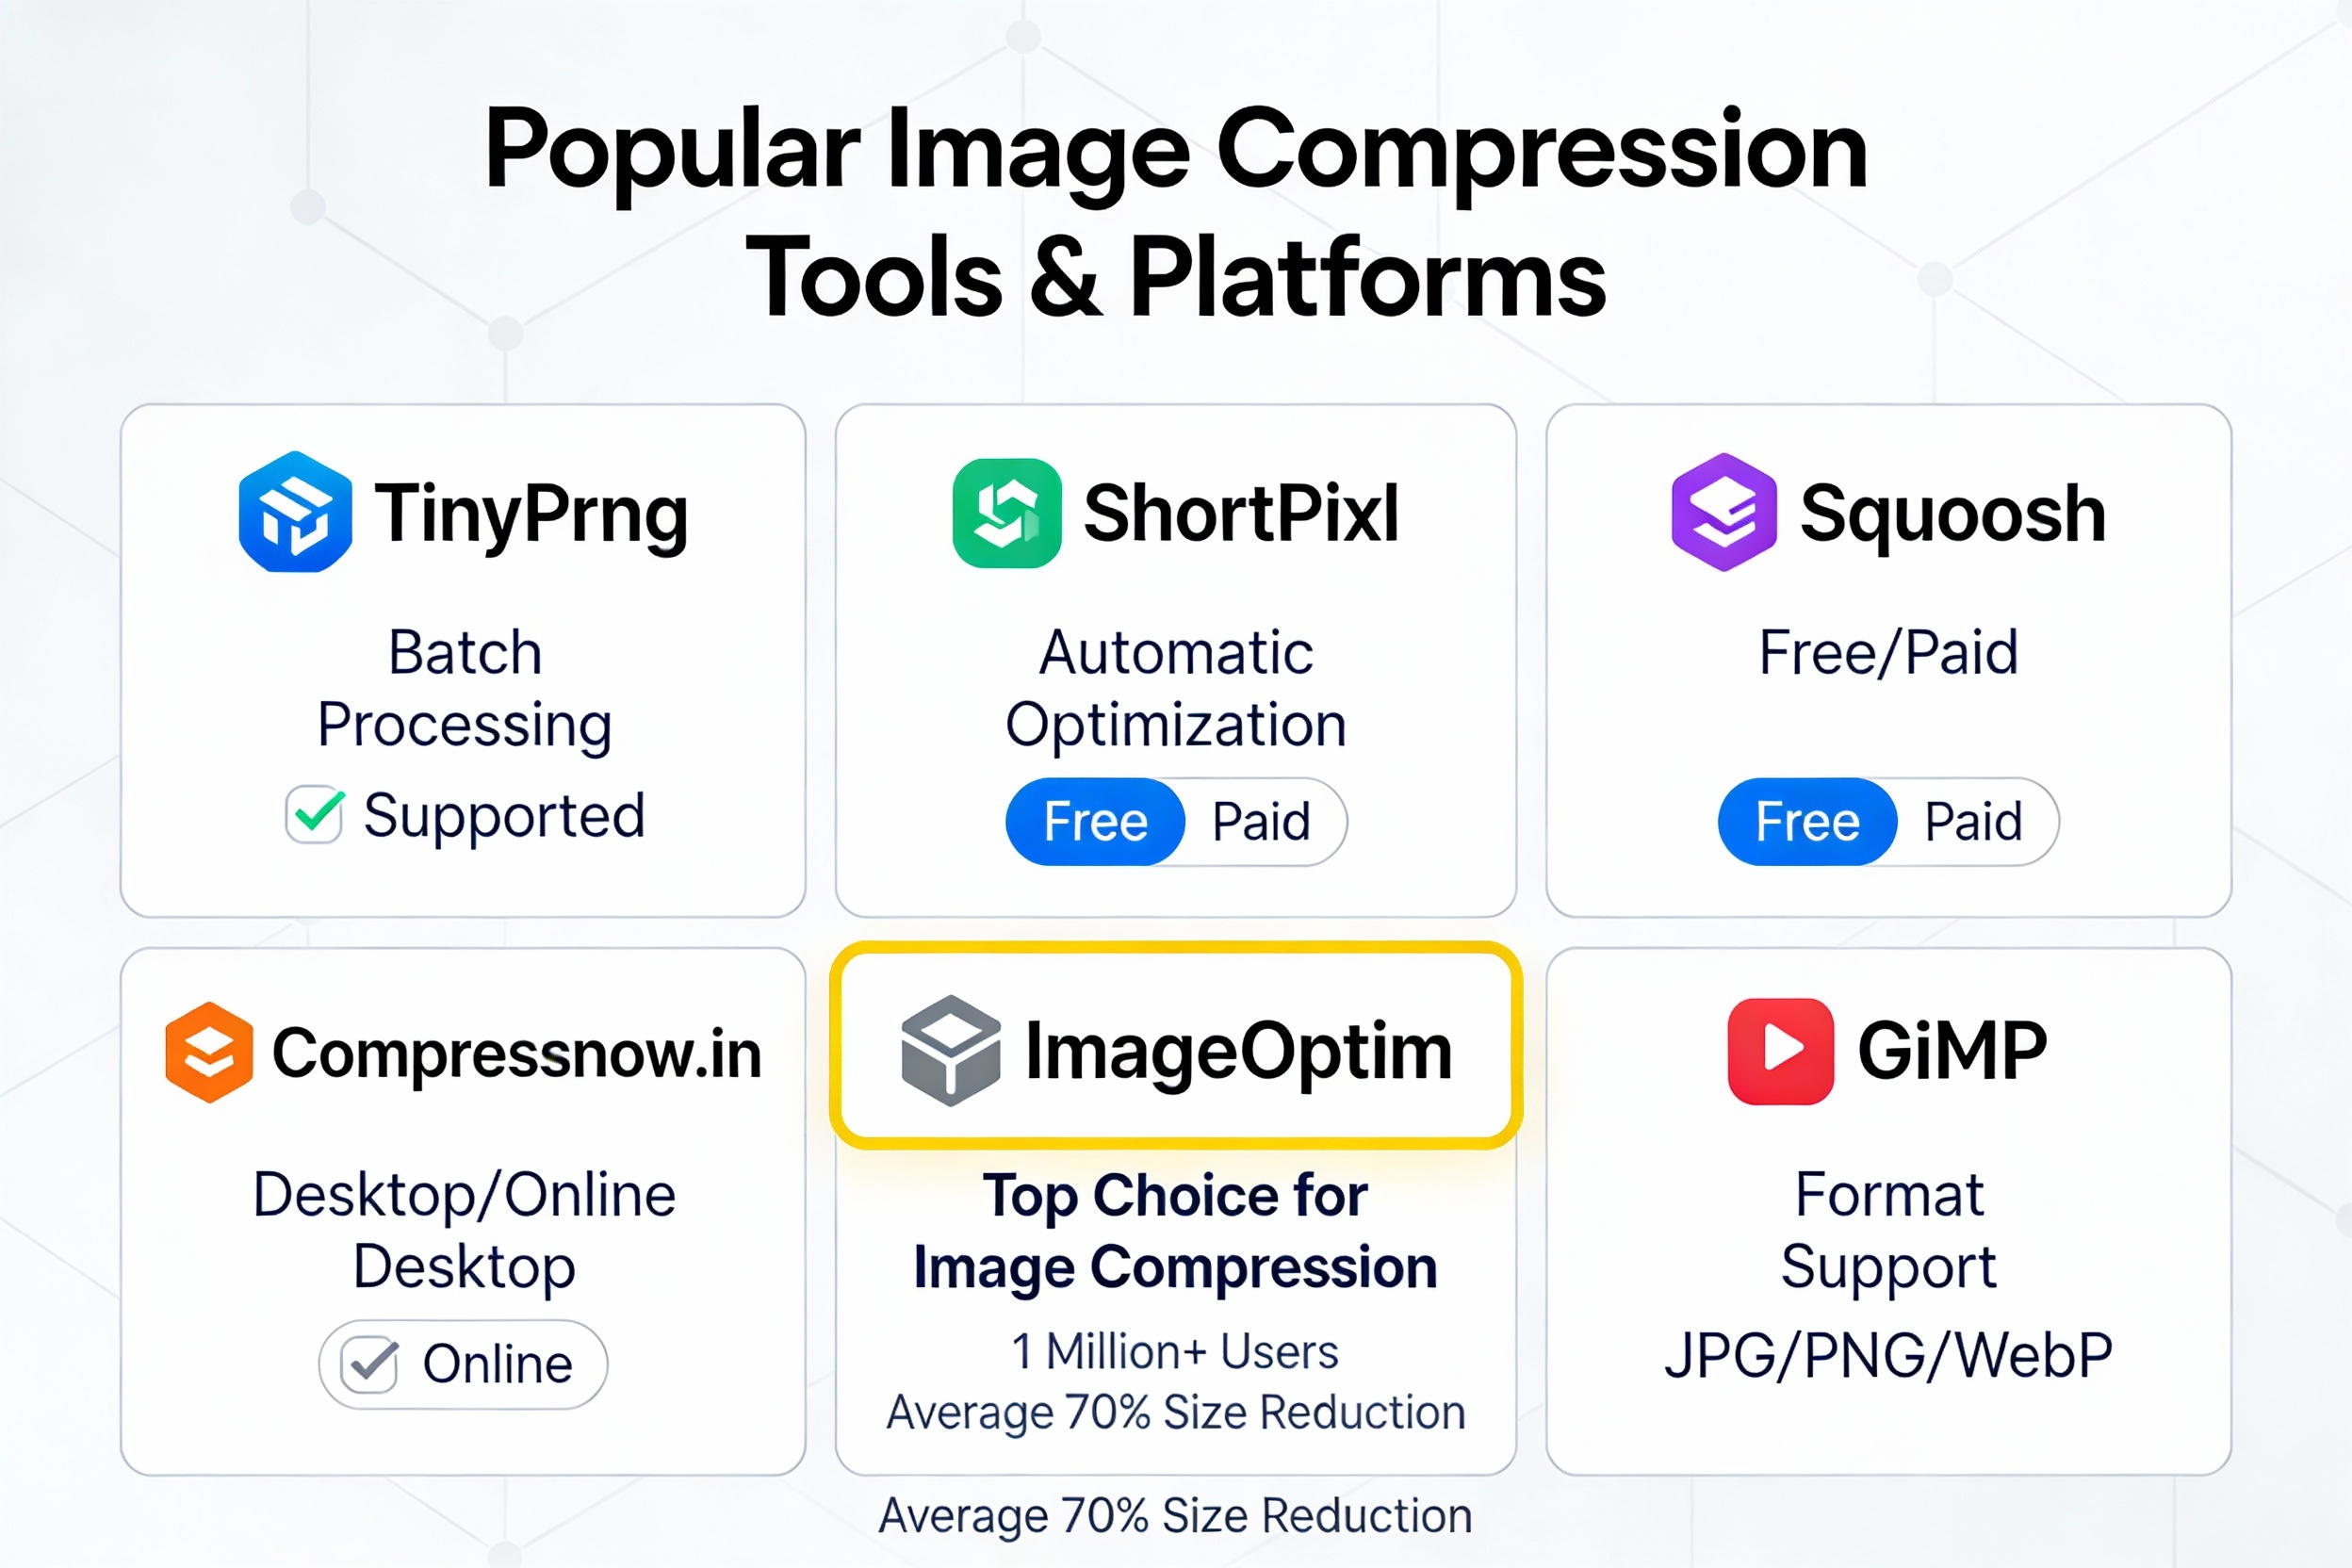
Image compression is one of the most effective ways to reduce image file size without resizing. Online compression tools like TinyPNG, ShortPixel, and Squoosh have revolutionized how we approach file size reduction. These tools use smart algorithms to analyze your images and apply the optimal level of compression. To reduce image size using an online tool, simply upload your image, select your preferred compression level, and download the optimized version.
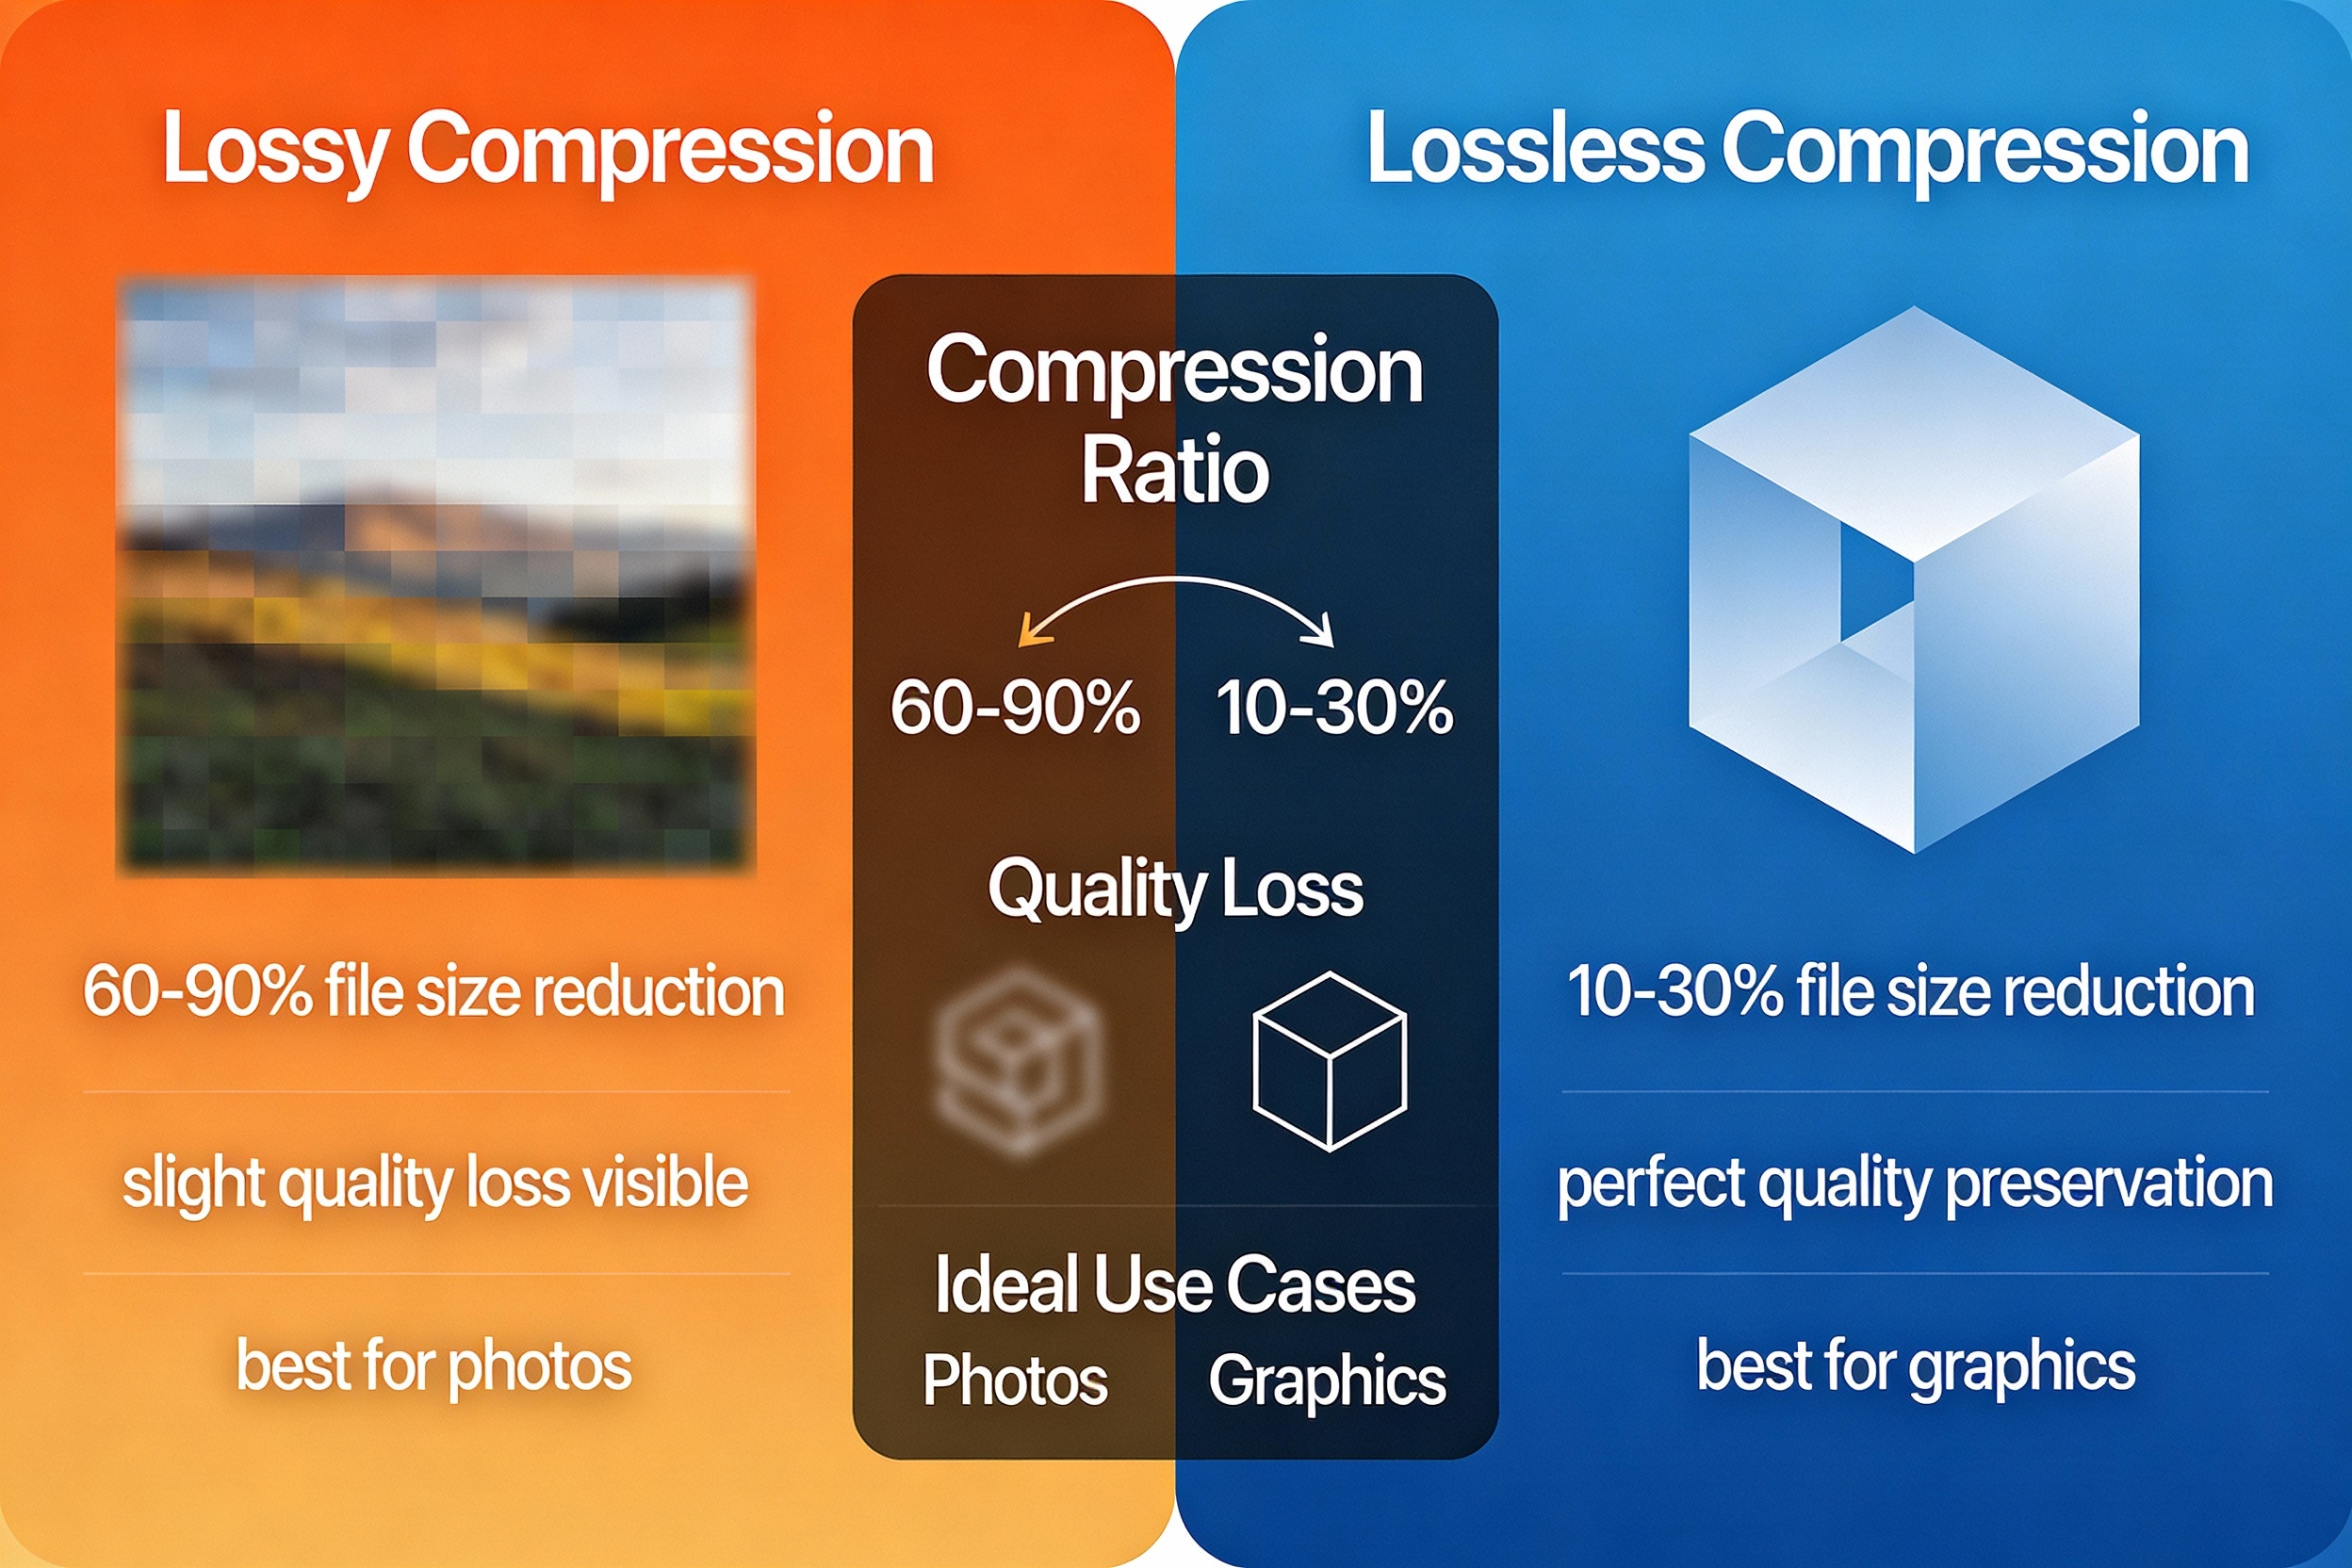
When using compression to reduce image file size, you have two main options: lossy and lossless compression. Lossless compression maintains all original image data while reducing file size, making it ideal for graphics, logos, and images where every detail matters. Lossy compression, on the other hand, removes some image data to achieve more dramatic file size reduction, but the quality loss is often imperceptible to the human eye. For most web applications, lossy compression offers the best balance for image size reduction.
Understanding Lossy vs. Lossless Compression
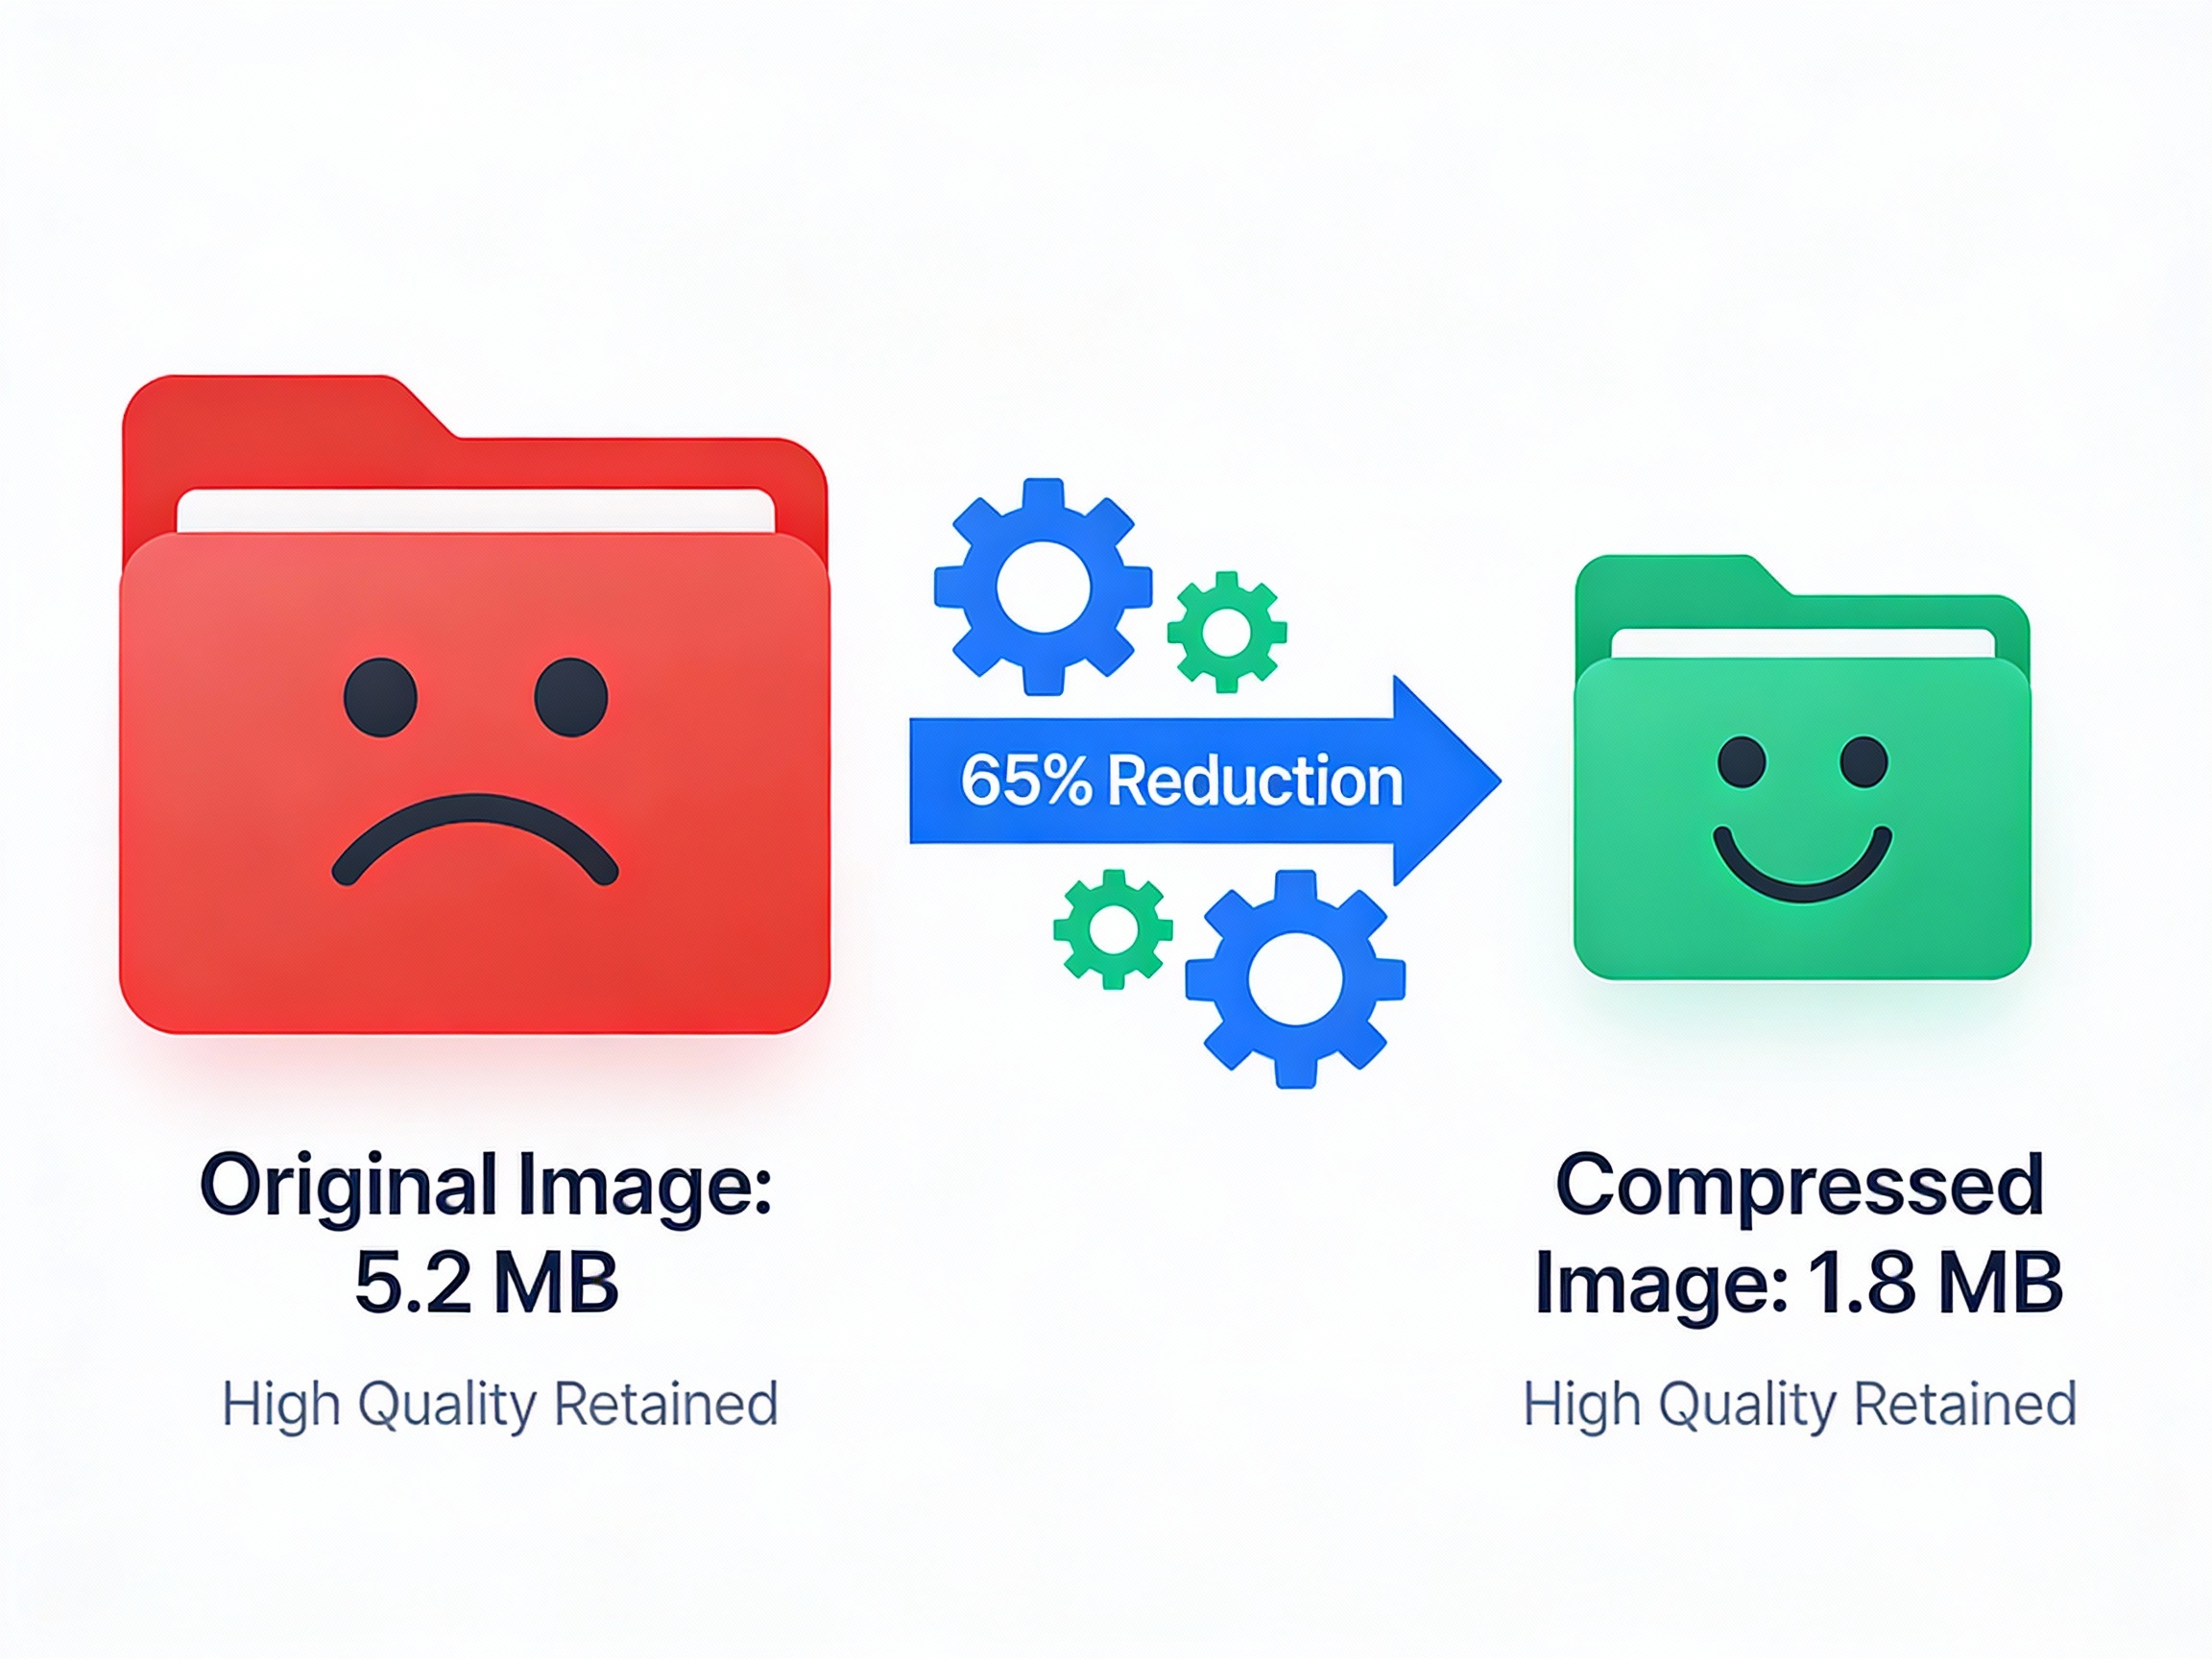
To effectively reduce image size, you need to understand which compression method works best for your specific use case. Lossless compression is recommended for archival purposes, medical imaging, and any situation where maintaining perfect quality is critical. This method typically achieves 10-30% file size reduction depending on the image type and complexity. Lossy compression, however, can achieve 60-90% image file size reduction, making it excellent for web images, social media, and email attachments.
The beauty of modern compression tools is that they intelligently choose the best compression method for your image. For instance, ShortPixel offers three compression options: Lossy (aggressive image size reduction), Glossy (balanced quality and size), and Lossless (perfect quality preservation). By understanding these options, you can make informed decisions about how much file size reduction you’re willing to accept for your specific use case.
Method 2: How to Reduce Image Size by Resizing Dimensions
Why Resizing is Crucial for Web Images
One of the most overlooked methods to reduce image file size is simply resizing the image to match its display dimensions. Many photographers upload high-resolution images from their cameras that measure 4000+ pixels wide, but these images are often displayed on websites at just 800-1200 pixels. This means you’re serving unnecessary pixels to your users. By resizing to your target display size, you can achieve significant image size reduction before even applying compression.
When you reduce image size through resizing, you’re removing actual pixel data from the image. For example, resizing a 4000×3000 pixel image to 1200×900 pixels reduces the total pixel count from 12 million to just 1.08 million—a reduction of over 90%! This dramatic file size reduction is why resizing should be one of your first steps when learning how to reduce image file size for web use.
Tools for Resizing Your Images
You have numerous options when it comes to resizing images to reduce image size. Built-in tools like Windows Photos, Mac Preview, and Paint offer basic resizing capabilities perfect for quick file size reduction. For more advanced control, Adobe Photoshop and GIMP provide professional-grade resizing tools. Online tools like Canva and Adobe Express allow you to reduce image file size without installing software, making them perfect for quick edits.
The key to successful image size reduction through resizing is maintaining aspect ratio. Most modern tools automatically preserve the aspect ratio when resizing, preventing distortion. Additionally, consider using bicubic sharpening when downsampling images to maintain clarity during file size reduction. This technique ensures that even after aggressive resizing to reduce image size, your images still look professional and sharp.
Method 3: How to Reduce Image Size by Choosing the Right File Format
JPEG, PNG, WebP, and AVIF: Understanding Image Formats
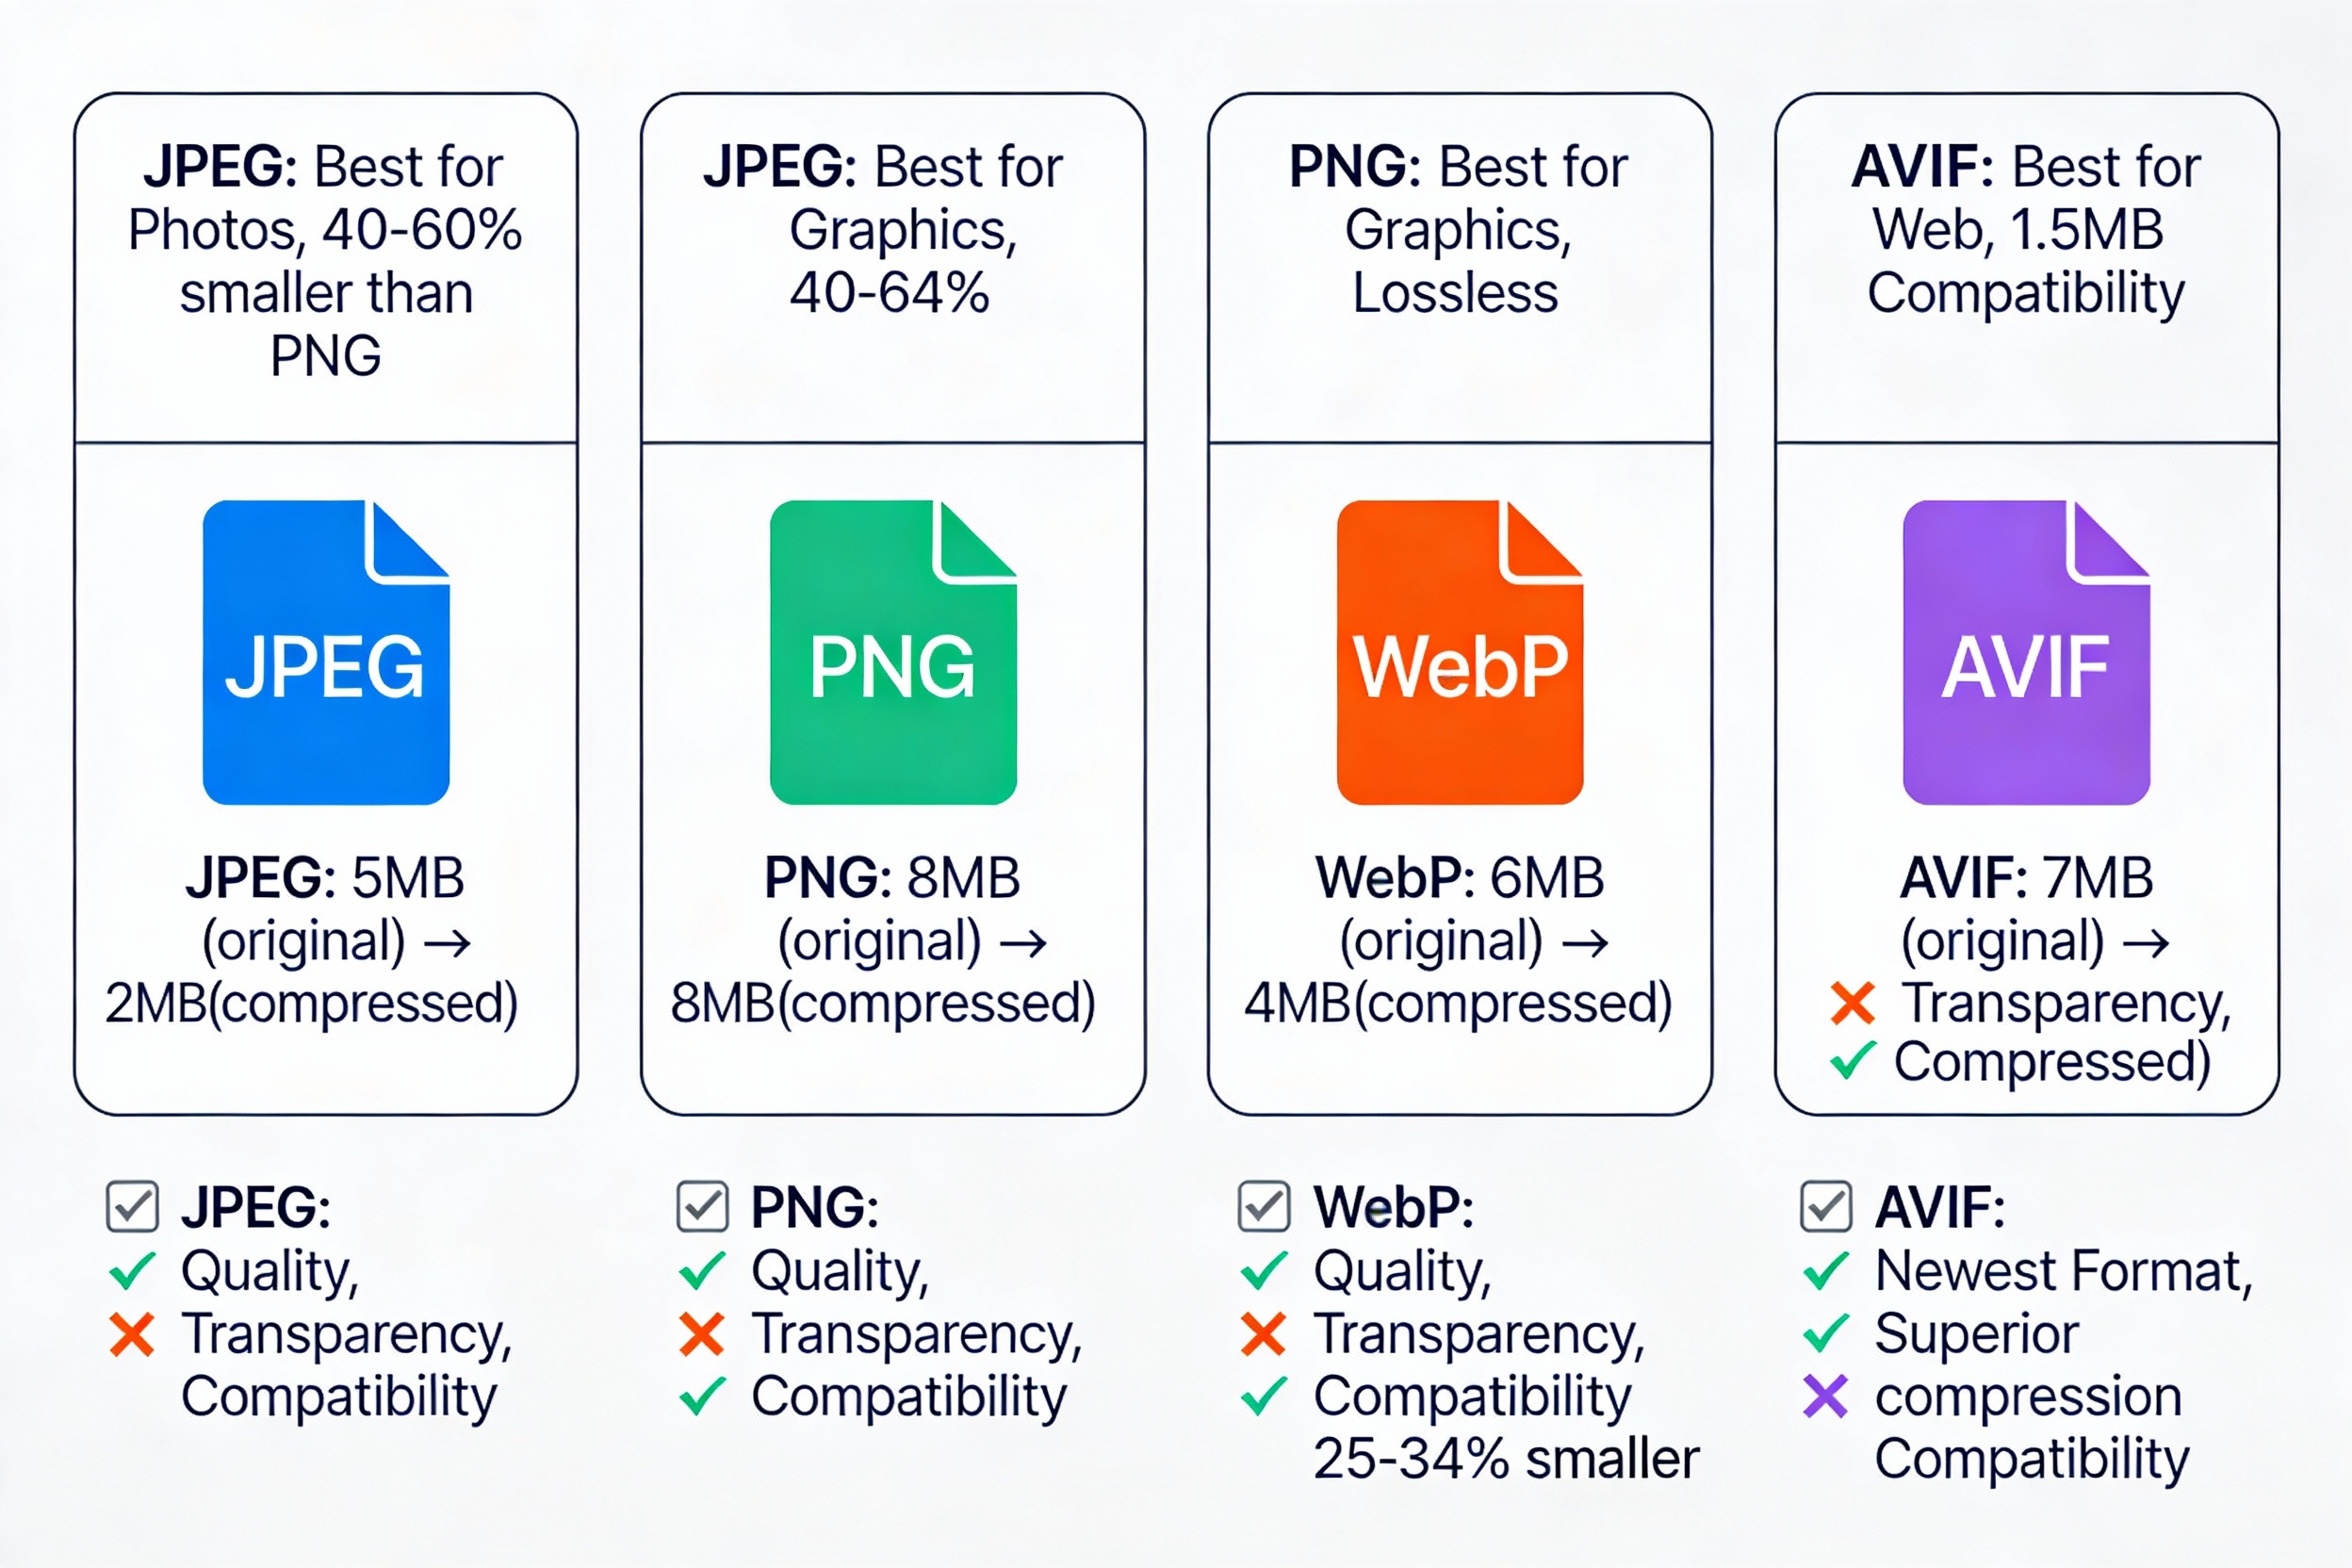
Selecting the correct image format is fundamental to effective image file size reduction. JPEG (Joint Photographic Experts Group) is ideal for photographs and complex images with many colors. It uses lossy compression by default, making it excellent for reducing image size while maintaining quality for photos. A typical JPEG file will be 40-60% smaller than the equivalent PNG file, making JPEG the go-to format when you need to reduce image file size significantly.
PNG (Portable Network Graphics) uses lossless compression and is perfect for graphics, logos, and images requiring transparency. While PNG files are larger than JPEGs for the same image, they’re superior when quality preservation is essential. WebP, developed by Google, offers the best of both worlds—it supports both lossy and lossless compression and typically achieves 25-34% better image size reduction compared to JPEG while maintaining comparable quality. AVIF is the newest format offering superior compression, though browser support is still developing.
Why Format Choice Matters for Image Compression
When deciding which format to use to reduce image size, consider the image content and purpose. For product photos on e-commerce sites, JPEG or WebP will reduce image file size effectively while maintaining the visual quality necessary to drive sales. For web graphics and logos, PNG might be worth the extra file size due to its lossless nature. Modern web developers increasingly use WebP with JPEG fallbacks, allowing them to serve the smallest possible files to supported browsers while maintaining compatibility.
Converting your images to WebP format can itself be a powerful way to reduce image size without any loss in visual quality. Many images converted from PNG to WebP see file size reduction of up to 26%, making format conversion a quick win when learning how to reduce image file size effectively.
Method 4: How to Reduce Image Size by Removing Metadata
What is Image Metadata and Why Remove It?
Every digital image contains hidden metadata called EXIF data that includes information like camera model, GPS coordinates, shooting date, and editing software used. While this information is valuable for photographers, it significantly increases file size unnecessarily when sharing images online. Removing this metadata is a simple yet effective way to reduce image file size without affecting the visual quality at all.
Metadata removal is one of the most underutilized techniques for image size reduction. A typical photo might contain 50-100KB of metadata alone, so simply stripping this information can provide immediate file size reduction without touching the actual image. Tools like image compression platforms automatically remove metadata as part of their optimization process, making it effortless to reduce image size using this method.
How to Remove Metadata from Your Images
Most modern image compression tools automatically remove metadata as part of their image file size reduction process. Online tools like Pi7 Image Tool, imgonline, and metadata2go specialize in removing EXIF data. If you’re using Photoshop, you can export images using “Save for Web” and disable the metadata option. This simple step can reduce image size by a small but meaningful amount, especially when performed across hundreds of images.
For batch processing, many online platforms and desktop applications allow you to remove metadata from multiple images simultaneously. This is particularly useful if you’re managing a large library of photos and want to reduce image file size across the board. Privacy-conscious users also appreciate metadata removal as a way to scrub GPS and personal information from photos before sharing them online.
Method 5: How to Reduce Image Size for Web With Lazy Loading and Optimization
Implementing Lazy Loading to Improve Performance
While lazy loading doesn’t directly reduce image size, it dramatically improves the perceived performance of your website by deferring the loading of off-screen images. When combined with actual image size reduction techniques, lazy loading creates a powerful performance optimization strategy. By implementing the loading=”lazy” attribute in HTML, you tell browsers to load images only when users scroll to them, significantly improving initial page load times.
Lazy loading is particularly effective when combined with other image optimization techniques. For instance, you might reduce image size through compression, resize images to display dimensions, and then implement lazy loading. This three-pronged approach ensures your website loads quickly while displaying high-quality images. Studies show that implementing lazy loading alongside image file size reduction can improve Core Web Vitals metrics, leading to better search rankings.
Using Content Delivery Networks (CDNs) for Image Serving
A CDN (Content Delivery Network) specializes in serving images efficiently by storing copies on servers worldwide and delivering them from the server closest to the user. While you should still reduce image size through compression and resizing, using a CDN amplifies these efforts by ensuring fast delivery regardless of geographic location. Many modern image CDNs automatically optimize images on-the-fly, detecting the user’s device and serving appropriately sized versions.
Services like Cloudflare, Akamai, and Shopify’s image CDN handle much of the heavy lifting in image optimization. These services automatically resize, compress, and convert images to optimal formats, essentially automating the process of how to reduce image file size. For websites with significant traffic, using a CDN combined with your own image size reduction efforts creates the ultimate performance optimization strategy.
The Top Tools to Help You Reduce Image Size
Best Online Image Compression Tools
When learning how to reduce image file size, you’ll want to know about the best tools available. ShortPixel is an excellent choice offering both online compression and WordPress plugin integration, supporting lossy, glossy, and lossless compression for dramatic image size reduction. The platform intelligently processes images to maintain quality while achieving up to 90% file size reduction in some cases.
- TinyPNG (despite its name, it works with JPEG too) uses smart lossy compression to reduce image size while maintaining visual clarity. You can upload up to 20 images at once and batch download them, making it efficient for image file size reduction projects. Squoosh, developed by Google, offers real-time quality comparison as you adjust compression settings, giving you precise control over the balance between image size reduction and quality.
- Compressnow.in is another excellent tool for reducing image size. This platform offers a user-friendly interface for image compression with support for multiple formats. You can easily upload your images and choose your compression level, making it simple to reduce image file size without any technical knowledge. The tool provides quick results and helps you achieve effective image optimization for your specific needs.
Desktop Applications for Bulk Image Size Reduction
For users managing large image libraries, desktop applications offer advantages over online tools. ImageOptim for Mac provides automatic image file size reduction by stripping unnecessary metadata and optimizing compression settings. Caesium offers cross-platform support and batch processing capabilities, allowing you to reduce image size for hundreds of images simultaneously with customizable compression settings.
XnView is another powerful option supporting batch processing and format conversion, making it ideal when you need to reduce image size across multiple images while potentially changing formats. These desktop applications often process images faster than online tools since they don’t require uploading to external servers, making them perfect for users with large image collections who want to reduce image file size efficiently.
Recap
Throughout this blog on how to reduce image size, we’ve covered several essential concepts. Image compression is the cornerstone of effective file size reduction, using algorithms to reduce data while preserving quality. Lossy compression enables aggressive image size reduction but involves slight quality sacrifice. Lossless compression preserves original quality completely while offering modest file size reduction.
Image optimization extends beyond simple file size reduction to include responsive design, lazy loading, and CDN implementation. Metadata removal provides quick file size reduction by stripping unnecessary EXIF data. Format conversion to WebP can provide substantial image file size reduction compared to JPEG or PNG. Resizing images to display dimensions is crucial for preventing wasted bandwidth and achieving significant image size reduction. Understanding image quality settings helps you find the perfect balance when using lossy compression. Finally, responsive images using HTML srcset attributes ensure each device receives appropriately sized images, complementing your image size reduction efforts.
How to Reduce Image Size for Different Platforms
Optimizing Images for Social Media
Different social media platforms have specific image requirements and recommendations. When preparing images for social media, image size reduction must account for platform-specific dimensions. Facebook recommends 1200×630 pixels for link posts, so resizing your original large images to these dimensions before compression allows for dramatic file size reduction. Instagram prefers square images at 1080×1080 pixels or portrait format at 1080×1350 pixels.
When you reduce image size for Instagram, consider that the platform highly compresses images anyway, so starting with already-compressed files may be unnecessary. However, image size reduction through dimension resizing is still important to match display requirements. For Twitter, aim for 1200×628 pixels for horizontal images, and optimize your images accordingly. Pinterest users should resize to 600×900 pixels. By understanding platform-specific requirements, you can reduce image file size more effectively since you won’t be serving oversized images.
Mobile Optimization: How to Reduce Image Size for Mobile Devices
Mobile image optimization requires a different approach than desktop optimization. Mobile users typically access websites through slower connections and limited data plans, making image size reduction critical. When optimizing for mobile, aim to reduce image size to between 320-720 pixels wide, with 640 pixels being an ideal middle ground for most mobile devices.
Responsive images using HTML srcset attributes allow you to serve different image sizes based on device characteristics, enabling more effective image file size reduction for mobile users. Rather than serving a 2000-pixel-wide desktop image to a 375-pixel-wide phone screen, responsive techniques serve appropriately sized versions. This approach, combined with aggressive compression to reduce image file size, ensures mobile users receive optimal performance.
The Quality vs. Size Sweet Spot
Finding the perfect balance when you reduce image size is crucial. With lossy compression, aim for 60-80% compression ratios, which typically maintain high visual quality while achieving significant file size reduction. For most web images, reducing quality from 90% to 70-75% provides the best balance—you’ll see minimal quality degradation while achieving substantial file size reduction.
Test your images at different compression levels before finalizing your optimization strategy. Tools like Squoosh show real-time previews, helping you understand exactly how much quality you lose at each compression level. This experimentation ensures you don’t over-compress (wasting potential space savings) or under-compress (missing file size reduction opportunities).
Start With High-Quality Originals
To effectively reduce image size while maintaining quality, always start with the highest-quality original images available. Reducing the size of already-compressed images often results in visible quality degradation. High-resolution original images provide more data to work with, allowing compression algorithms to reduce image file size while preserving important details.
If you’re working with camera RAW files or high-resolution stock photos, you have maximum flexibility to reduce image size through resizing and compression. The more data you start with, the better the tools can optimize and reduce image file size while maintaining visual integrity.
Learning how to reduce image size is an essential skill in our digital age. Whether you’re a website owner concerned about performance, a content creator managing large image libraries, or simply someone wanting to save storage space, the techniques and tools discussed in this blog will help you achieve your goals. The most effective approach combines multiple methods: image compression using appropriate tools, resizing to display dimensions, selecting optimal file formats, and removing unnecessary metadata. By implementing these strategies, you can reduce image file size dramatically while maintaining the visual quality your audience expects.
Remember that image optimization is an ongoing process. Regularly audit your images, stay updated with new compression tools and techniques, and continually test different approaches to find what works best for your specific needs. Whether you choose online tools like Compressnow.in for quick one-off compressions, desktop applications for bulk processing, or implement automated solutions through WordPress plugins, the key is to prioritize image size reduction as part of your overall optimization strategy. With the knowledge you’ve gained from this comprehensive guide on how to reduce image size, you’re now equipped to create faster-loading websites, improve user experience, and achieve better search engine rankings through effective image optimization.
What is the Best Way to How to Reduce Image Size Without Losing Quality?
The best approach to how to reduce image size without quality loss involves a multi-step process. Start by resizing your image to match the dimensions where it will be displayed on your website. This single step alone can achieve 50-90% file size reduction without quality loss. Next, choose the right file format for your use case. Converting your images to WebP format when you how to reduce image size can provide an additional 25-34% reduction compared to traditional JPEG files. Finally, use a quality compression tool like Compressnow.in to apply intelligent compression algorithms. When learning how to reduce image size, remember that lossy compression removes imperceptible data while maintaining visual quality. Most professionals recommend aiming for 70-75% quality settings when you need to how to reduce image size for web use.
How to Reduce Image Size for My Website to Improve Loading Speed?
To effectively how to reduce image size for your website, you need to follow a comprehensive optimization strategy. First, understand that how to reduce image size for web involves much more than just compression alone. Start by implementing responsive images using srcset attributes in your HTML code. This approach is particularly crucial when you need to how to reduce image size for mobile users specifically. Second, implement lazy loading on your website, which defers image loading until users scroll to them. This improves performance even before you how to reduce image size through traditional compression. Third, use a Content Delivery Network (CDN) that automatically optimizes images on-the-fly. When you how to reduce image size using a CDN, you benefit from automatic format conversion and intelligent resizing. Additionally, batch compress all your images using Compressnow.in before uploading. Finally, remove all unnecessary metadata from your images. This often overlooked step to how to reduce image size can save 50-100KB per photograph by removing EXIF data and other hidden information. By combining all these techniques together, you’ll create a comprehensive strategy for how to reduce image size while maintaining visual excellence throughout your website.
What Tools Should I Use to How to Reduce Image Size Most Effectively?
When determining the best tools to how to reduce image size, consider these top-rated options that professionals use. Compressnow.in is an excellent choice for how to reduce image size quickly and easily, featuring a user-friendly interface that requires no registration. The platform specializes in helping you how to reduce image size effectively through intelligent compression algorithms that automatically detect the best settings for your images. TinyPNG is fantastic for batch processing when you need to how to reduce image size for multiple images simultaneously, supporting up to 20 files per upload. ShortPixel offers WordPress plugin integration, making it perfect if you want to automate the process of how to reduce image size continuously. Squoosh, developed by Google, provides real-time quality previews so you can see exactly how much you can how to reduce image size without visible degradation. Most professionals recommend Compressnow.in for its simplicity and effectiveness when you just need to how to reduce image size quickly without technical complications.
How Much Can I How to Reduce Image Size Before Quality Becomes Noticeably Worse?
This is an important question about balancing file size and visual quality when you how to reduce image size. With lossless compression, you can typically how to reduce image size by approximately 10-30% without any quality loss whatsoever. This makes lossless compression perfect if you’re archiving important photographs or need perfect quality preservation. With lossy compression, you can how to reduce image size much more aggressively, typically achieving 60-90% size reduction while maintaining imperceptible quality loss. For standard web images, most professionals recommend you can how to reduce image size by using 70-75% quality settings without visible degradation. For social media images, you can actually how to reduce image size even more aggressively to around 60% quality since platforms compress images heavily anyway. The best practice when you want to how to reduce image size is to test your images at different compression levels using interactive tools like Squoosh. Generally speaking, if you follow the techniques outlined in this guide, you’ll successfully how to reduce image size by 60-80% on average while maintaining excellent visual quality.
Need to Compress or Convert Files?
Try CompressNow.in - Free, Fast & Secure file compression and conversion tools!

Author Bio – Tanishk Singh
Tanishk Singh is a Digital Marketing Strategist, SEO Specialist, and Web Technology Expert with over 4+ years of hands-on experience in building, ranking, and monetizing high-performance web platforms.
He has helped scale organic traffic for multiple education and SaaS websites, including increasing Shoolini Online’s SEO traffic from 800 to 20,000+ users in just 2.5 months using advanced content architecture, AI-driven SEO, and Google SGE optimization.
Tanishk specializes in creating AI-powered web tools, performance-optimized platforms, and SEO-focused websites that rank, convert, and generate consistent revenue.