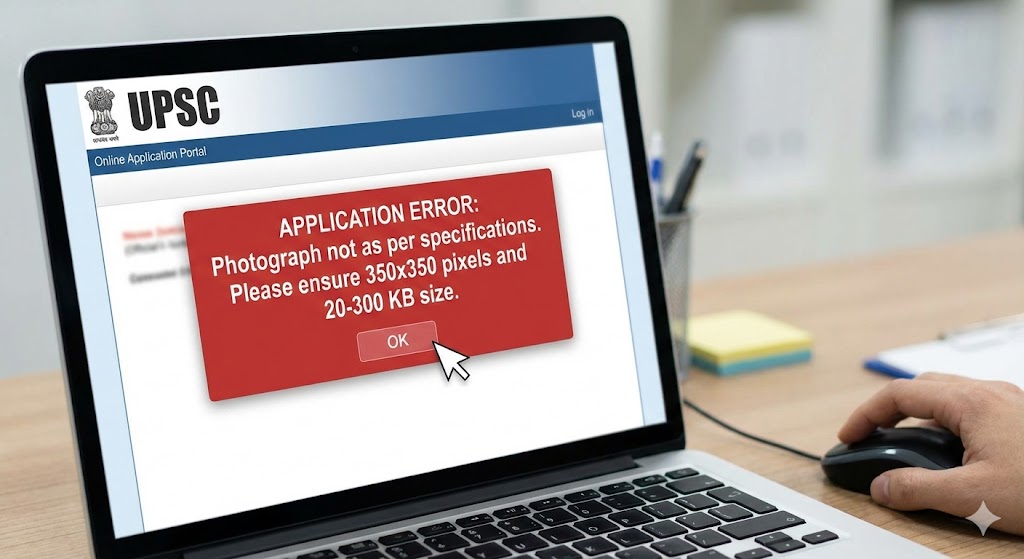
UPSC photo resize: The Union Public Service Commission (UPSC) Civil Services Examination is perhaps the most rigorous and prestigious competitive exam in India. Aspirants spend years preparing for the Prelims, Mains, and the Interview. Yet, every year, a significant number of promising candidates face a heartbreaking hurdle before the race even begins: application rejection due to incorrect document formatting. The technical specifications for uploading images are stringent, making the task of upsc photo resize a critical step in the application process.
Filling out the Detailed Application Form (DAF) requires precision, not just in the information you provide, but also in the digital assets you upload. The commission has strict guidelines regarding the dimensions, file size, and format of the candidate’s photograph and signature. Failing to adhere to these UPSC photograph requirements can lead to immediate disqualification. This comprehensive guide will walk you through everything you need to know about upsc photo resize, ensuring your application sails through the technical scrutiny.

Why Accurate upsc photo resize is Vital for Your Application
You might wonder why the UPSC is so pedantic about image specifications. The reason is standardization and verification. With lakhs of applicants, the commission uses automated systems to process applications. Images that do not conform to the standard digital photograph specs can break the automated flow or become illegible for verification purposes during the exam stages.
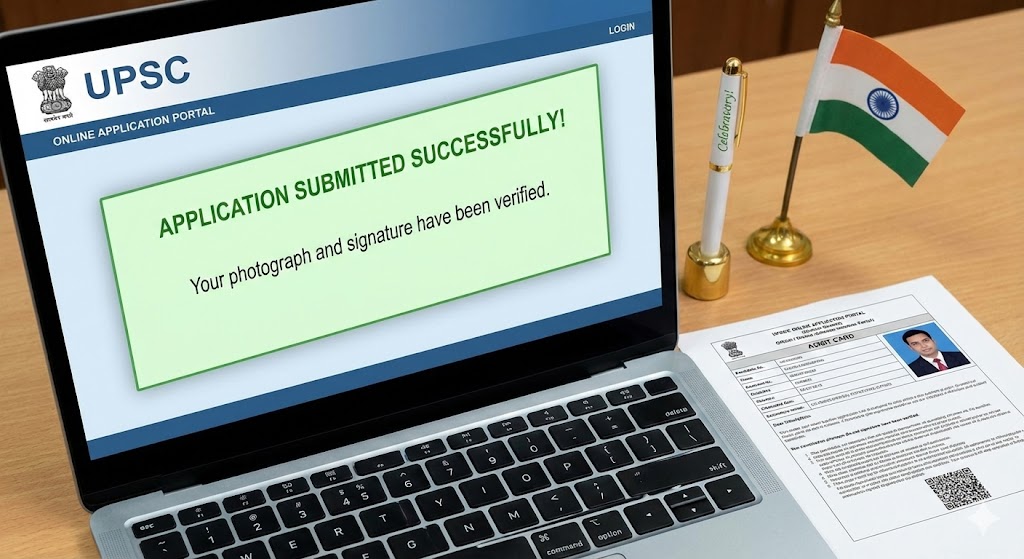
A correctly performed upsc photo resize ensures that your admit card is generated correctly and that the invigilators at the exam center can easily identify you. An unclear, stretched, or improperly sized photo is a security risk from the commission’s perspective. Therefore, mastering how to crop photo for UPSC and adjust its file size is not just a technical chore; it’s the gateway to sitting for the exam. Without a proper upsc photo resize, your months of hard work could be rendered moot by a simple technical error.
Before attempting any upsc photo resize, you must understand the exact targets you are aiming for. The UPSC notification clearly spells out these requirements. Missing even one parameter can render your file invalid.
The Photograph Specifications
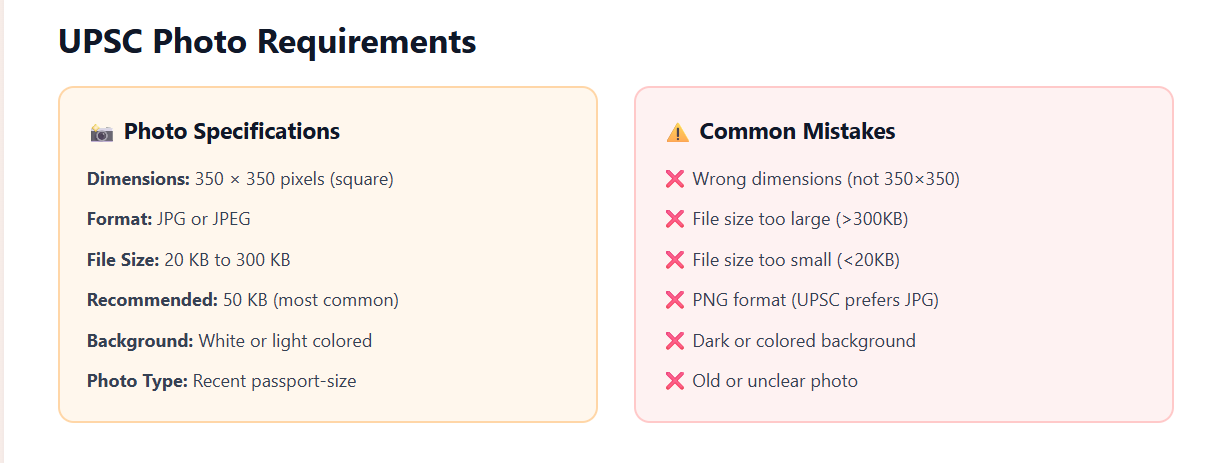
The requirements for the candidate’s photograph are very specific regarding both image dimensions for UPSC and file storage size.
Format: The file must be in JPG or JPEG format.
File Size: The size of the digital image must be between 20 KB and 300 KB. This is the most common stumbling block where a photo compression tool becomes necessary.
Dimensions (Pixels): The photograph must be square. The minimum resolution is 350 pixels (width) x 350 pixels (height), and the maximum is 1000 pixels x 1000 pixels.
Content: The photo must be recent (usually taken within the last 10 days of the notification), with a clear light background. The face should occupy about 3/4th of the space, and the candidate must not wear glasses or caps that obscure features.
A major part of upsc photo resize involves ensuring these proportions are met. If your original image is too large, you must reduce image size in KB while keeping the clarity intact.
The UPSC signature size requirements are similar but have their own nuances.
Format: JPG or JPEG only.
File Size: Between 20 KB and 300 KB.
Dimensions (Pixels): Similar to the photo, the signature must have a minimum resolution of 350 pixels (width) x 350 pixels (height) and a maximum of 1000×1000 pixels.
Content: The signature must be in black ink on white paper. It must be clear and not blurred.
Understanding these constraints is the first step in a successful upsc photo resize operation. Candidates often forget that the signature must also be square or within square boundaries for the portal to accept it without distortion.
Step-by-Step Tutorial: How to upsc photo resize Online
While you can use complex software like Adobe Photoshop, most aspirants prefer a simpler, faster solution. You need a tool designed to resize photo for sarkari exam applications. A specialized platform can make this process effortless.
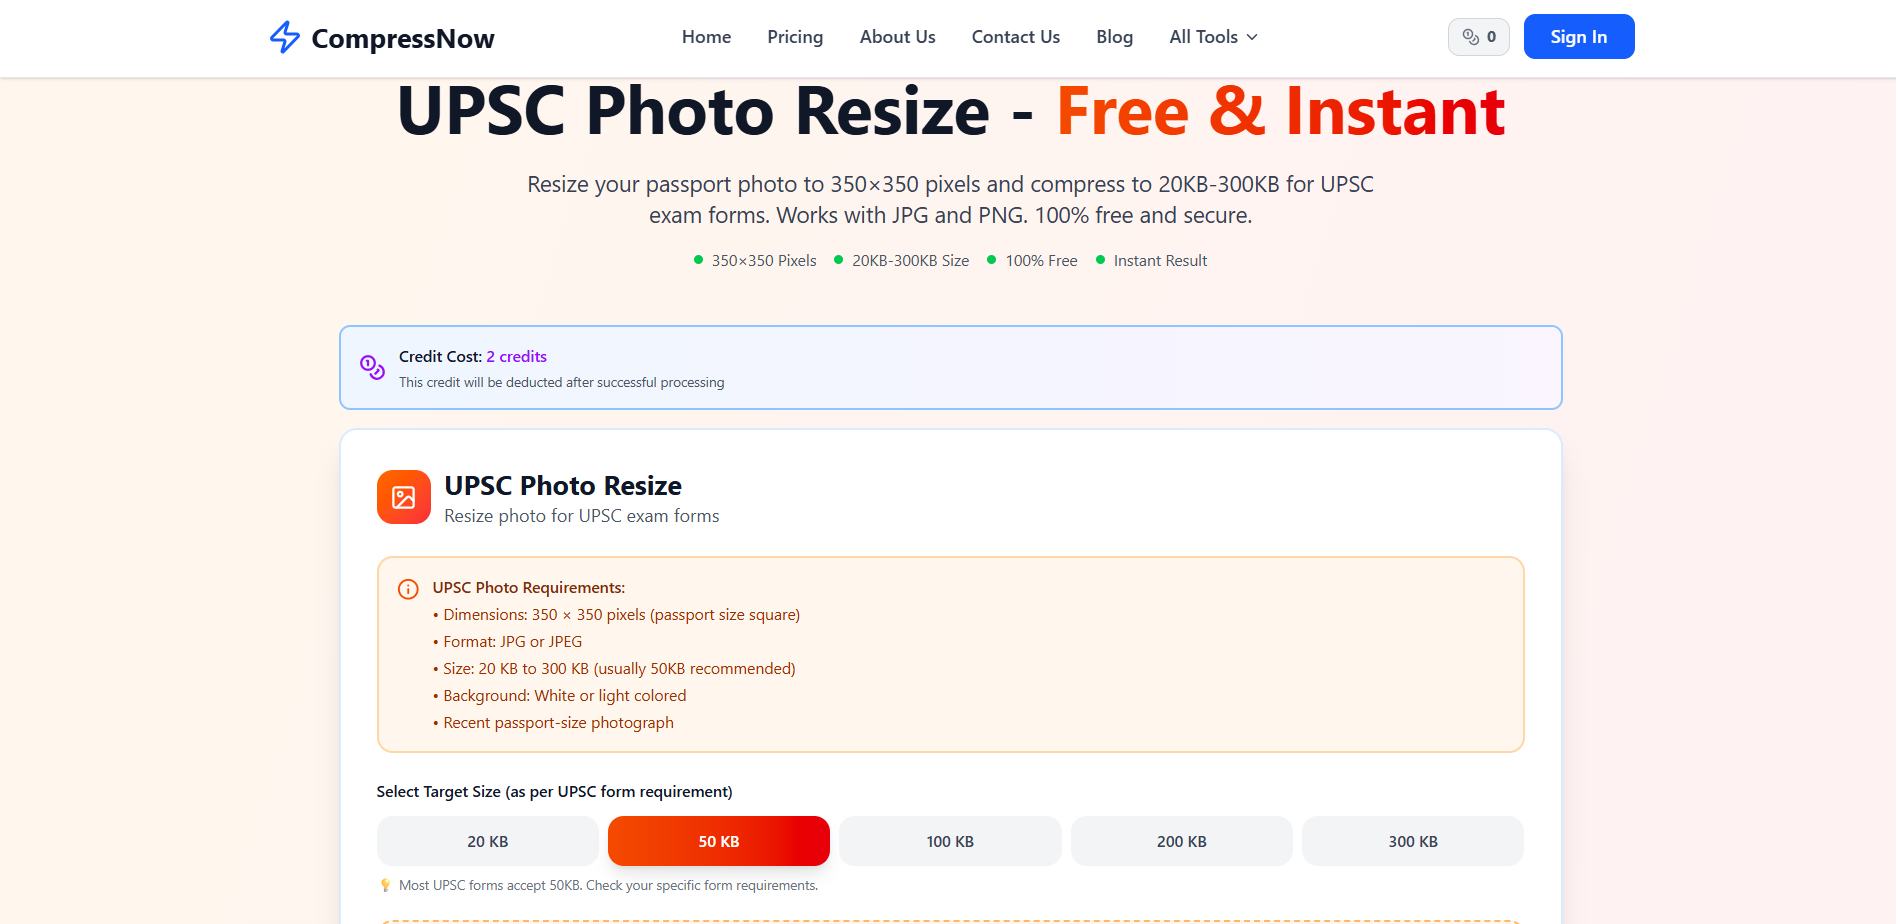
For a seamless experience, you can use Compressnow.in. This browser-based tool allows you to easily manage both the file size and dimensions of your images without needing technical expertise. It acts as an efficient online image resizer specifically helpful for government exam candidates.
Here is a general workflow for performing a upsc photo resize:
Upload Your Image: Start by navigating to a reliable online image resizer.  As seen in the screenshot above, you can simply click to upload or drag and drop your photo. Compressnow.in supports files up to 50MB, making it easy to process even high-res smartphone shots.
Crop to Proportions: Use the built-in tools to how to crop photo for UPSC. Ensure your face takes up approximately 75% of the frame.
Set Dimensions: Adjust the settings to meet the image dimensions for UPSC (350×350 to 1000×1000).
Compress to Target: Use the photo compression tool to reduce image size in KB. Aim for something between 50KB and 150KB to stay safely within the 20-300KB range.  The platform provides a clear step-by-step guide on the page, as captured in the image above, to ensure you don’t miss any critical formatting details.
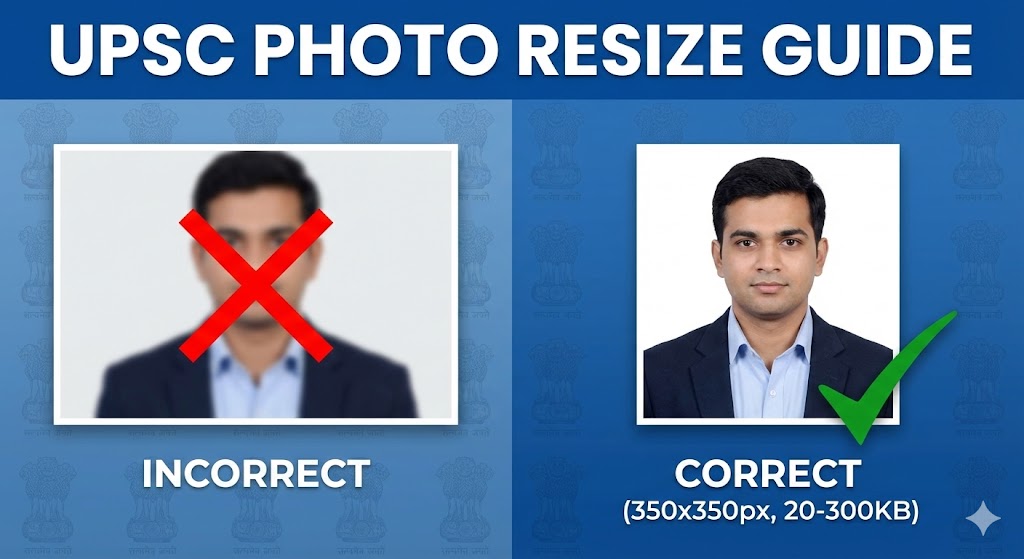
UPSC photo resize: How to Crop Photo for UPSC Correctly

One of the most frequent errors candidates make during upsc photo resize is incorrect cropping. If you just resize a rectangular photo into a square, your face will appear squashed or elongated. This is why you must perform a square crop first.
When you how to crop photo for UPSC, center your face and ensure that your shoulders are visible. Both ears must be clearly visible, and the eyes should be open and looking directly at the camera. A successful upsc photo resize starts with a high-quality crop. If you use a tool like Compressnow.in, the cropping process is interactive, letting you see exactly what will be included in the final UPSC photograph requirements.
Selecting the right photo compression tool can save you hours of frustration. A good tool should allow you to see a live preview of the output. When performing upsc photo resize, you need to ensure the digital photograph specs are met without the image becoming “pixelated.”
Compressnow.in is an excellent choice because it offers instant processing directly in your browser. This means your sensitive documents are not uploaded to a server, ensuring 100% privacy. For many aspirants, this security is a key reason to use this specific online image resizer. Furthermore, it allows you to reduce image size in KB with a simple slider, making it very intuitive even for those who are not tech-savvy.
Advanced Tips for upsc photo resize and image dimensions for UPSC
To get the most professional results from your upsc photo resize, keep these advanced tips in mind:
Start High: Always use the original high-resolution photo from your camera. If you use an already-compressed photo from WhatsApp, the further upsc photo resize will make it too blurry.
Black Ink Only: For your signature, always use a black gel or ballpoint pen. Blue ink can sometimes look faint after a reduce image size in KB process.
Check the Background: A plain white background is mandatory. If you have a busy background, no amount of upsc photo resize will save your application from rejection.
Match Dimensions: Even if your file size is 50KB, if the dimensions are not at least 350×350, it will fail. Always verify the image dimensions for UPSC before saving.
Common Errors in upsc photo resize and Their Solutions
Even with the best intentions, errors happen. Here is how to fix them during your upsc photo resize session:
Error: File size too small (<20KB): This happens if you set the compression too high on your photo compression tool.
Solution: Re-run the upsc photo resize with a higher quality setting. Aim for ~100KB.
Error: Blurry Photo: Over-compressing or using a poor original leads to blur.
Solution: Use Compressnow.in to upscale or use a better source file before you resize photo for sarkari exam.
Error: Aspect Ratio Mismatch: Your photo looks stretched.
Solution: Reset the process and ensure you how to crop photo for UPSC into a perfect square first.
Error: Incorrect File Name: UPSC sometimes prefers simple names like
photo.jpgandsignature.jpg.Solution: Rename your files after the upsc photo resize is complete.
Final Checklist Before Uploading: Your upsc photo resize Audit
Before you hit that submit button, perform this final upsc photo resize audit:
Is the file format .jpg or .jpeg?
Is the file size between 20KB and 300KB?
Are the image dimensions for UPSC between 350×350 and 1000×1000 pixels?
Is the background plain white?
Does the face cover 75% of the photo?
Is the signature in black ink?
Real-Life Examples of upsc photo resize Success
Example 1: The Last Minute Rescue Anil, an aspirant from Delhi, was attempting to upload his form on the final day. His photo was 4MB, and the server kept timing out. He used Compressnow.in to quickly perform a upsc photo resize. Within 30 seconds, he had a 90KB file that met all digital photograph specs. He submitted his form with 10 minutes to spare.
Example 2: The Signature Correction Sneha noticed her signature looked blurry after she used a generic online image resizer. She realized the tool was lowering the quality too much to hit the KB target. She switched to a more specialized photo compression tool that allowed her to reduce image size in KB while maintaining sharpness. Her final signature was 45KB and perfectly legible.
Conclusion: Mastering the upsc photo resize Task
The journey to IAS, IPS, or IFS is a marathon. Don’t let a technicality trip you up at the starting line. Mastering upsc photo resize is a small but essential skill. By following the UPSC photograph requirements and using reliable tools like Compressnow.in, you ensure that your application is as polished as your preparation.
The key to a successful upsc photo resize is patience and precision. Take your time to how to crop photo for UPSC properly and verify every detail against the official digital photograph specs. Whether you are adjusting your UPSC signature size or checking the image dimensions for UPSC, accuracy is your best friend.
As you prepare for the challenges of the Civil Services, let this guide serve as your roadmap for the administrative side of the journey. A perfect upsc photo resize is a sign of a candidate who is meticulous, professional, and ready for the responsibilities of public service. Good luck with your application and your exams! Remember, a clear photo and a crisp signature are the first steps toward your name appearing in the final merit list. Use the right resize photo for sarkari exam techniques today to avoid headaches tomorrow.
What is the maximum file size for UPSC photos?
The maximum file size is 300 KB (some notifications might say 200 KB, so 300 KB is the upper limit for safety). You must use a photo compression tool if your file is larger.
Can I use a selfie for the UPSC application?
No. Selfies are generally rejected. You need a formal, frontal passport-size photo. After you have the right photo, you can use an online image resizer to fit the UPSC photograph requirements.
What happens if I upload the wrong dimensions?
The UPSC portal will either show an error or the image will appear distorted on your admit card, which can cause issues during entry to the exam hall. Always ensure proper image dimensions for UPSC during your upsc photo resize.
Is black ink mandatory for the signature?
Yes, the instructions specifically state black ink on white paper for the best UPSC signature size clarity.
Need to Compress or Convert Files?
Try CompressNow.in - Free, Fast & Secure file compression and conversion tools!

Author Bio – Tanishk Singh
Tanishk Singh is a Digital Marketing Strategist, SEO Specialist, and Web Technology Expert with over 4+ years of hands-on experience in building, ranking, and monetizing high-performance web platforms.
He has helped scale organic traffic for multiple education and SaaS websites, including increasing Shoolini Online’s SEO traffic from 800 to 20,000+ users in just 2.5 months using advanced content architecture, AI-driven SEO, and Google SGE optimization.
Tanishk specializes in creating AI-powered web tools, performance-optimized platforms, and SEO-focused websites that rank, convert, and generate consistent revenue.