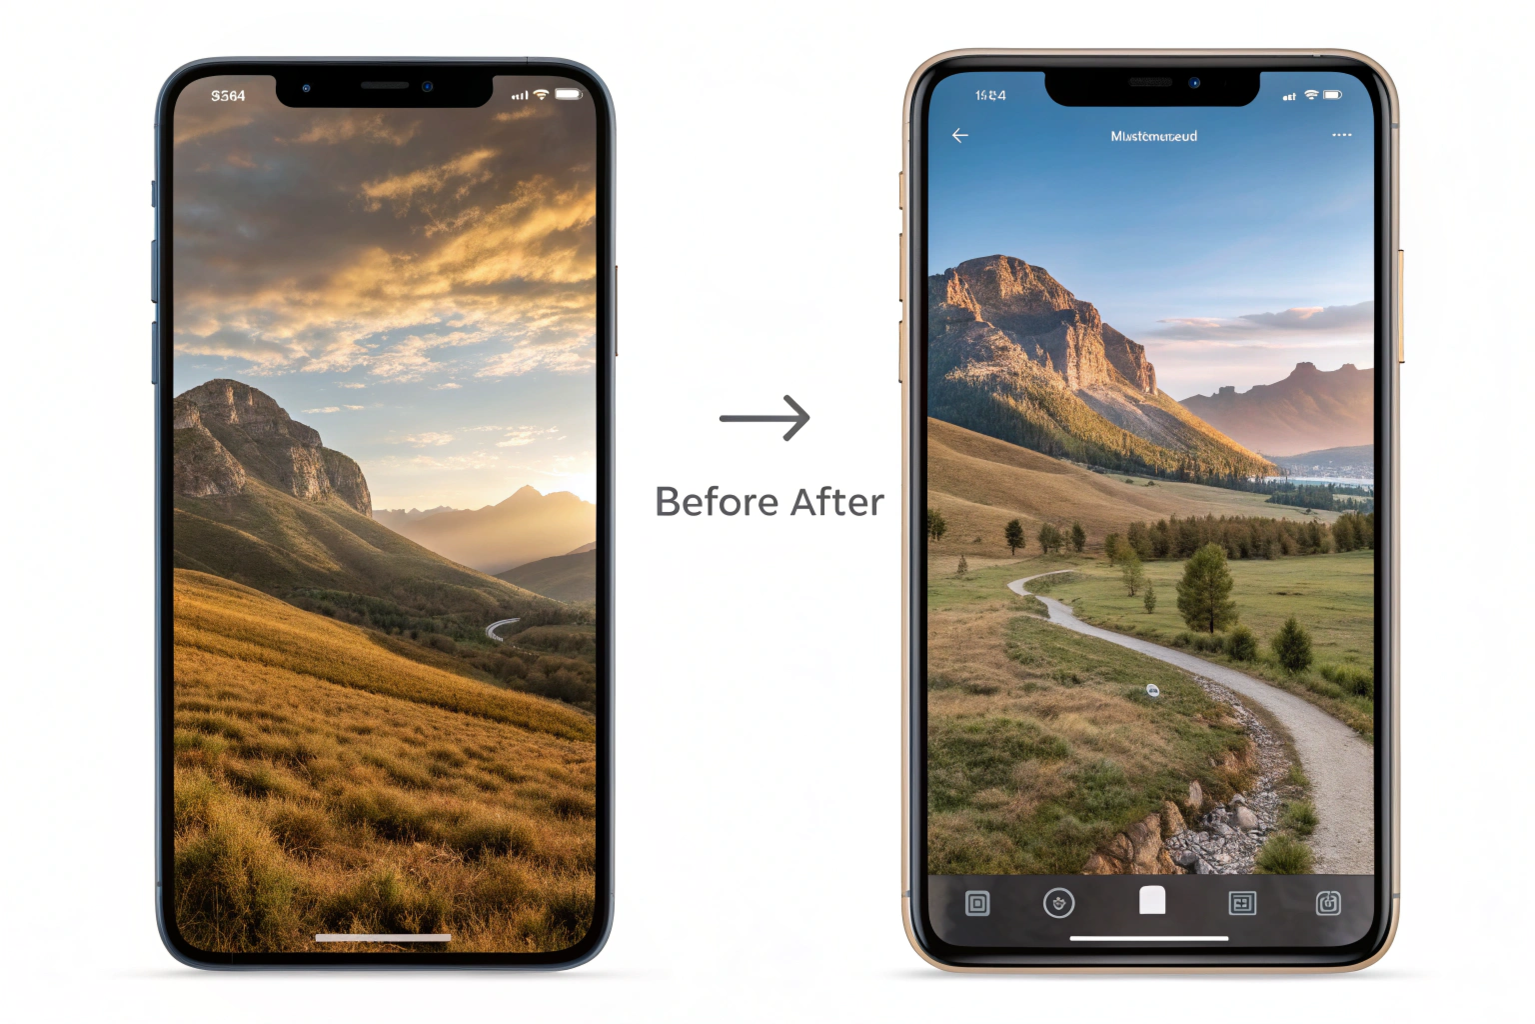
Convert Landscape Photo to Portrait Easily using simple tools on your phone, online editors, or professional software, even if you don’t have advanced editing skills. Landscape and portrait are two common image orientations used in photography, design, and printing. Landscape orientation is wider than it is tall, meaning the width is greater than the height. It is ideal for capturing wide scenes like nature, architecture, group photos, and backgrounds because it shows more space horizontally.
On the other hand, portrait orientation is taller than it is wide, meaning the height is greater than the width. This format is commonly used for portraits of people, profile photos, social media content, posters, and mobile-friendly visuals because it focuses more on the subject vertically.
In simple words, landscape looks like a horizontal rectangle, while portrait looks like a vertical rectangle. Choosing between the two depends on where and how you want to use the image.
Why Convert a Landscape Photo to Portrait Format?
There are many situations where converting a landscape photo into portrait format becomes useful. Portrait orientation is taller and fits better on smartphones, social media platforms, posters, and vertical displays. If you want to upload photos to Instagram Reels, Stories, YouTube Shorts, or other vertical platforms, converting to portrait format helps the image fit perfectly without awkward cropping.
Portrait format is also useful when you want to focus more on a specific subject in the image. By changing the orientation, unnecessary background areas are removed, and attention stays on the main object or person. This is especially helpful for profile pictures, product images, advertisements, and professional photography.
Another reason is printing needs. Many frames, ID photos, brochures, and banners require vertical images. So converting a landscape picture to portrait ensures the photo works correctly for design and print requirements.
In short, converting landscape to portrait helps improve visibility, focus, and compatibility across devices, social media, and print formats.
Best Methods to Convert Landscape Photo to Portrait
There are several effective ways to convert a landscape photo into portrait format, depending on whether you are using a phone, computer, or online tool. The most common method is cropping, where you trim the sides of the image to fit a vertical frame. This is quick and works well when the main subject is centered. Apps like Photos (iPhone), Google Photos, and basic editors can easily do this.
Another popular method is using photo editing software like Photoshop, Canva, or Lightroom. These tools not only let you crop but also help you resize, adjust the frame, blur the background, or extend the edges to keep the subject intact. This is great when you don’t want to lose important parts of the image.
You can also use online converters and AI tools, which automatically change landscape photos into portrait by filling background areas, intelligently adjusting composition, or generating extra space around the subject. These are useful if you want a quick solution without installing software.
Lastly, some mobile apps allow portrait conversion without cropping, where they add borders, blur sides, or expand the background to maintain the full image while making it vertical.
In short, you can convert landscape to portrait using cropping, editing software, mobile apps, or AI tools—choose the method based on how much quality and control you need.
How to Convert Landscape to Portrait Using Online Tools
Converting a landscape photo to portrait using online tools is one of the easiest and fastest methods because you don’t need to install any software. Many websites allow you to upload your image, choose a portrait size, and convert it within seconds.
Start by visiting a reliable online photo editor such as Canva, Fotor, Pixlr, Kapwing, or any AI background extender tool. Upload your landscape photo and select a portrait aspect ratio like 4:5, 3:4, or 9:16 depending on your need (for social media, posters, or mobile use). Most tools provide ready-made size options like Instagram Story, Reel, Pinterest Pin, or Poster size.
Next, adjust the image within the frame. You can crop the sides, reposition the subject, or use features like background blur, border fill, or AI background expansion to prevent losing important parts of the photo. Once satisfied, simply export or download the portrait image in JPG or PNG format.
Online tools are great because they are beginner-friendly, quick, and work on any device including mobile and PC. They also offer smart editing features that help you convert landscape photos to portrait without losing quality or important details.
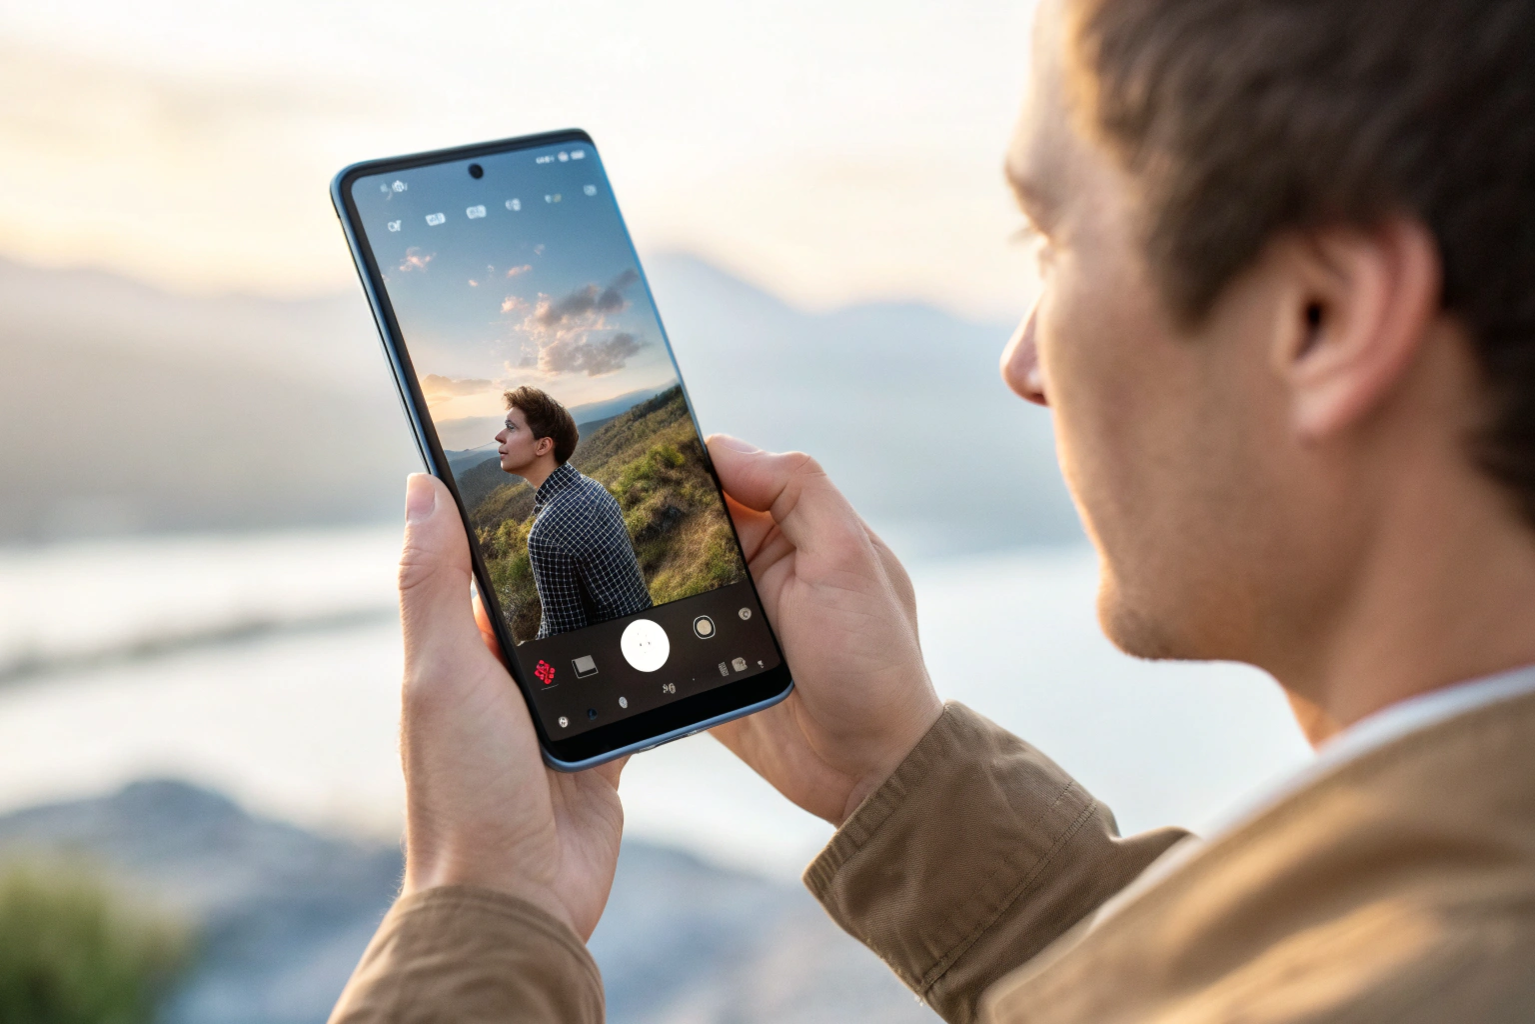
Convert Landscape Photo to Portrait on Mobile (Android & iPhone)
You can easily convert a landscape photo to portrait format on your mobile phone without needing advanced software. Both Android and iPhone have built-in editing options, and there are also many free apps that make the process even easier.
On Android (Google Photos or Gallery app):
Open your photo, tap Edit → Crop, and select a portrait aspect ratio such as 3:4, 4:5, or 9:16. Adjust the frame so the main subject stays in the center, then save the edited photo. Many Android phones also offer AI background blur or extend features that help fill empty space.
On iPhone (Photos app):
Open the image, tap Edit → Crop icon, then choose a vertical aspect ratio like 4:5 or 9:16. Drag the frame to keep the main subject visible, and tap Done to save. iPhones also offer portrait background blur in some models, which helps highlight the subject.
You can also use mobile apps such as Canva, Snapseed, PicsArt, Remini, or Lightroom Mobile if you want extra control. These apps allow you to:
convert landscape to portrait without heavy cropping
blur or stretch the sides
use AI to extend the background
maintain better image quality
Mobile editing is quick and convenient, making it perfect when you need vertical images for Instagram Stories, Reels, WhatsApp Status, Pinterest, or mobile wallpapers while keeping your subject clear and in focus.
Change Landscape to Portrait Using PC Software (Photoshop/Canva/Lightroom)
Using PC software gives you the most control and best quality when converting a landscape photo to portrait. Programs like Photoshop, Canva, and Lightroom allow you to resize, crop, extend background, or recompose the image without losing important details.
1. Using Adobe Photoshop
Photoshop is the most powerful option for this task.
Open the image → go to Crop Tool
Select a portrait ratio such as 3:4, 4:5, or 9:16
Reposition the subject inside the frame
Use Content-Aware Fill or Generative Expand to extend missing areas
Save the portrait image as JPG or PNG
This method is great when you don’t want to crop out important parts of the photo.
2. Using Canva (online + PC app)
Canva is easy and doesn’t require advanced editing skills.
Create a new design with portrait size (e.g., 1080×1920 or A4)
Upload your landscape photo
Drag and resize it inside the vertical canvas
Add blurred background or color borders to fill extra space
Download the portrait version
Canva is perfect for posters, social media posts, and simple edits.
3. Using Adobe Lightroom (PC version)
Lightroom is ideal for photographers who care about quality.
Import your image → choose Crop Overlay
Select portrait aspect ratios like 2:3, 4:5, or 9:16
Adjust composition using the Rule of Thirds grid
Enhance the photo with exposure, contrast, and clarity tools
Export the portrait image
Lightroom keeps maximum image quality while changing orientation.
Overall, PC software is best when you want professional results, precise cropping, high resolution, and advanced background control compared to mobile apps or basic online tools.
Tips to Convert Without Losing Quality
When converting a landscape photo to portrait, maintaining image quality is very important. The first and most effective tip is to avoid excessive zooming or cropping. Cropping too tightly can reduce resolution and remove important details. Always choose a suitable portrait aspect ratio (like 3:4, 4:5, or 9:16) and make sure the subject remains sharp.
Whenever possible, use high-resolution images before editing. A higher pixel image gives you more flexibility to crop or adjust without making the picture blurry or pixelated. If you are using software like Photoshop or Lightroom, export the final image in high quality with minimal compression to preserve clarity.
If you don’t want to lose background areas, use tools that offer AI background extension, blur fill, or smart scaling instead of cutting too much of the image. This helps keep the full subject visible while still fitting into portrait format.
Also, ensure you choose the right export format. JPG is best for general use and social media, while PNG is useful if you want sharper details. For professional work or printing, stick to high-resolution files.
Finally, always preview the converted image on the device or platform where you plan to use it. This ensures the photo looks clear, properly framed, and not stretched or distorted. Following these tips will help you convert landscape photos to portrait smoothly without losing important quality.
Conclusion
Converting a landscape photo to portrait format is easier than it may seem, and it can make your images much more useful for social media, printing, mobile viewing, and professional design needs. Whether you use online tools, mobile apps, or PC software, the key is to maintain focus on the main subject while preserving as much quality as possible.
Choose the right aspect ratio, avoid heavy cropping, and use AI or background extension tools when needed to keep important details intact. With the right method, you can smoothly transform any horizontal image into a vertical one without losing clarity or composition.
Need to Compress or Convert Files?
Try CompressNow.in - Free, Fast & Secure file compression and conversion tools!

Author Bio – Tanishk Singh
Tanishk Singh is a Digital Marketing Strategist, SEO Specialist, and Web Technology Expert with over 4+ years of hands-on experience in building, ranking, and monetizing high-performance web platforms.
He has helped scale organic traffic for multiple education and SaaS websites, including increasing Shoolini Online’s SEO traffic from 800 to 20,000+ users in just 2.5 months using advanced content architecture, AI-driven SEO, and Google SGE optimization.
Tanishk specializes in creating AI-powered web tools, performance-optimized platforms, and SEO-focused websites that rank, convert, and generate consistent revenue.