Overview of image formats: TIFF vs JPG
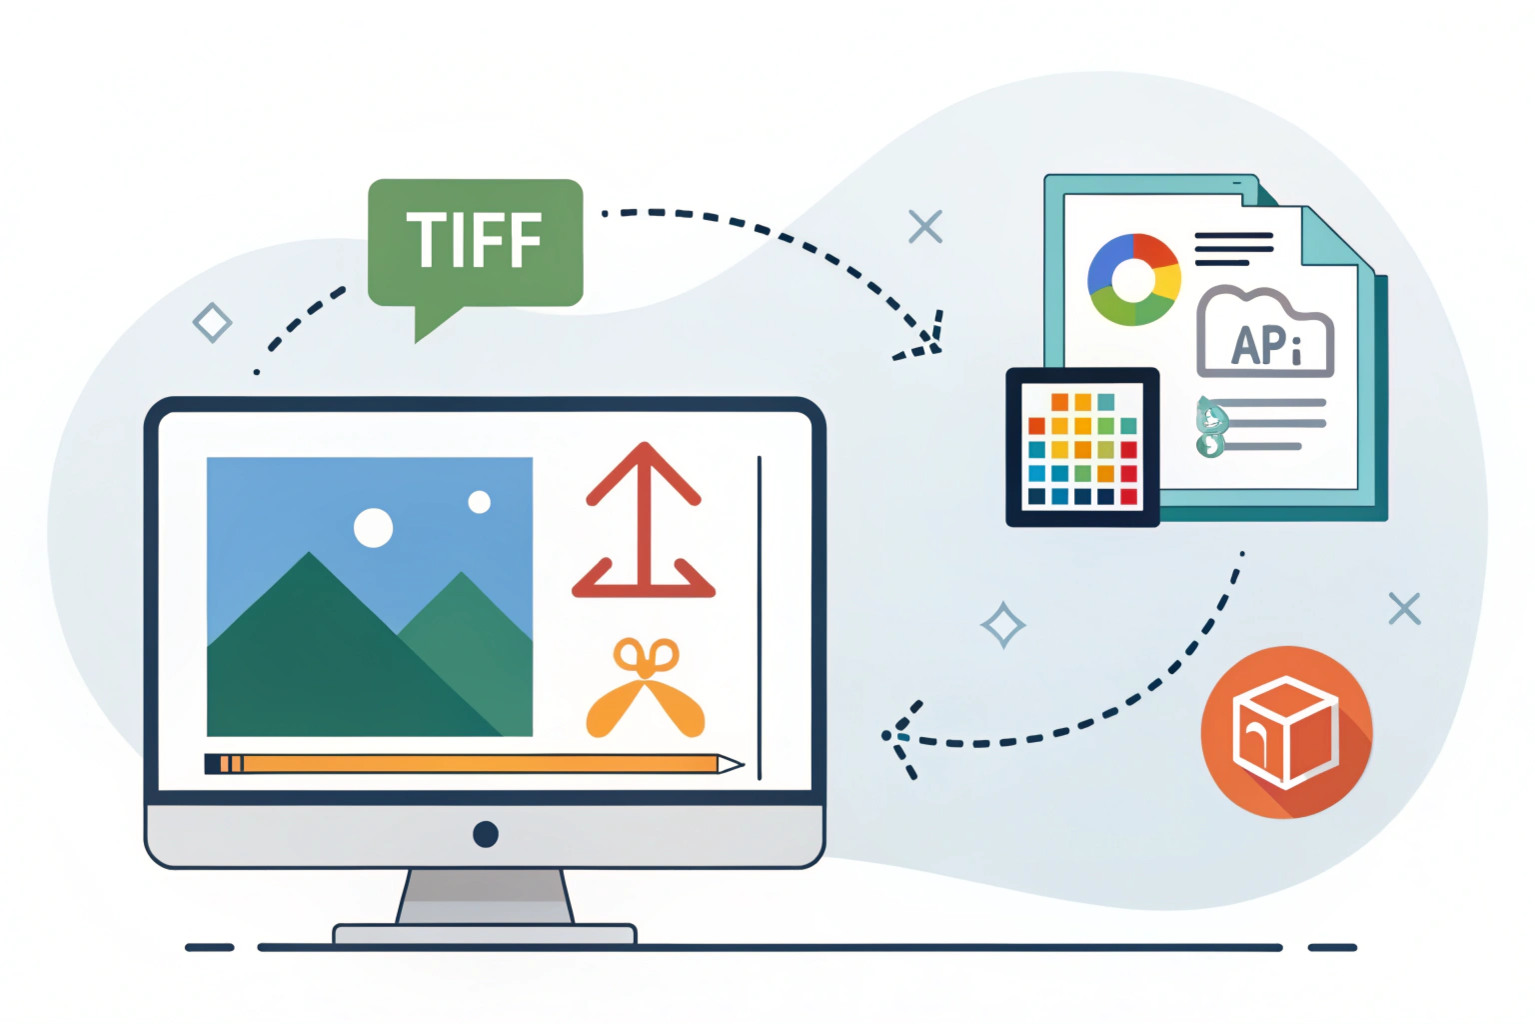
How to convert TIFF to JPG is a common question for anyone working with images. TIFF, which stands for Tagged Image File Format, is known for keeping every bit of image detail intact. Photographers and designers often use it when they want the highest quality possible. JPG, short for JPEG, is a smaller file format that compresses images so they take up less space, making it perfect for sharing online or sending via email.
Why conversion between TIFF and JPG is important
Sometimes you’ll need to switch between these formats depending on what you want to do with your image. For example, if you need top-notch quality for printing, TIFF is great. But if you want to upload that same image to your website, JPG is a better choice because it loads faster. Knowing how to convert TIFF to JPG helps you get the right balance between image quality and file size for your needs.
What is TIFF?
TIFF stands for Tagged Image File Format. It’s a type of image file that is known for keeping every detail of your picture intact. Unlike some other formats, TIFF doesn’t compress your image too much, which means you don’t lose quality. This makes it a favorite among photographers, designers, and anyone who needs super-clear, high-resolution images.
Key features of TIFF files
High quality: TIFF files store images without losing any details.
Supports multiple layers: Some TIFF files can keep layers, which is useful for editing.
Flexible: You can save TIFF images with different color depths and compressions if needed.
Large file size: Because it keeps so much detail, TIFF files can be quite big.
Advantages and common uses
TIFF files are perfect when you need the best image quality. Photographers use them for printing photos, graphic designers use them for editing, and archivists use them to store important images. If you want to make sure every detail is preserved, TIFF is the go-to format.
What is JPG?
JPG, also written as JPEG, stands for Joint Photographic Experts Group. It is one of the most common image formats you’ll come across, especially online. JPG files use compression to reduce file size, which means they are smaller and easier to share. The trade-off is that some image quality may be lost during compression, but for most everyday uses, the difference is barely noticeable.
Key features of JPG files
Compressed format: JPG reduces file size, making it faster to upload and download.
Widely supported: Almost every device, app, and browser can open JPG images.
Good balance: JPG keeps a decent level of quality while saving storage space.
Flexible quality settings: You can choose higher quality for less compression or smaller files for more compression.
Advantages and common uses
JPG is great for sharing images online, posting on social media, or sending through email. It is perfect when you need smaller files without worrying too much about losing tiny details. Photographers often use JPG for web galleries, bloggers use it for blog images, and most people use it for everyday photos.
Why Convert TIFF to JPG?
Sometimes, keeping your image in TIFF format is not practical, especially when you want to share it online or save storage space. That’s where JPG comes in. Converting TIFF to JPG helps you make your images smaller and easier to use without losing too much quality.
Benefits of JPG over TIFF for certain scenarios
Smaller file size: JPG files take up much less space than TIFF, which makes them easier to store and send.
Faster loading: If you’re uploading images to websites or social media, JPGs load faster.
Wider compatibility: Almost every device and application can open JPG files, making sharing simple.
Good enough quality: For most online and everyday uses, the slight loss in quality isn’t noticeable.
When to choose JPG
Choose JPG when you need to share images quickly, post photos online, or save storage space. It’s perfect for social media posts, emails, blogs, and general web use. If your goal is convenience and easy accessibility, JPG is usually the better option.
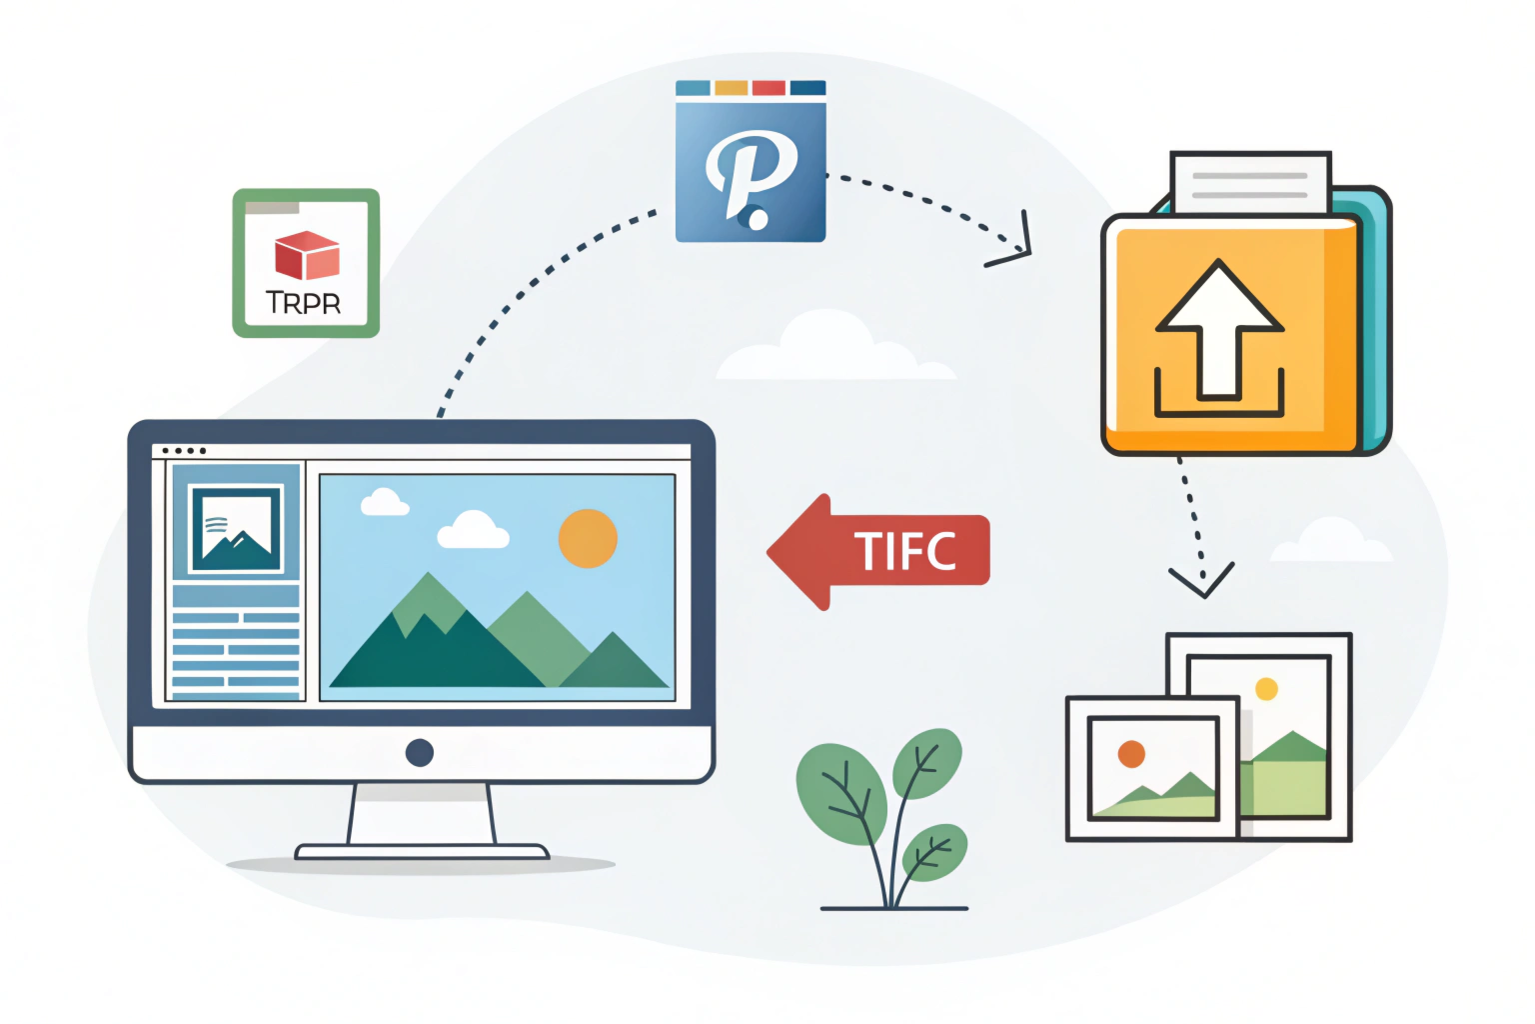
Converting TIFF to JPG is easier than it sounds. You can do it online, with software, or directly on your computer. Here’s how:
Using online tools
If you don’t want to install anything, online converters are a quick solution. Websites like Convertio or Online-Convert let you upload your TIFF file, choose JPG as the output, and download the converted file in seconds. This is perfect for small files or occasional conversions.
Using software (Photoshop, GIMP, etc.)
Professional software like Photoshop or free programs like GIMP also let you convert TIFF to JPG. Simply open your TIFF file, choose Save As or Export, select JPG as the format, and adjust the quality settings if needed. This method is great if you want more control over image quality.
Conversion on Windows and Mac
Windows: You can use the built-in Paint app. Open your TIFF file, click Save As, and select JPG.
Mac: Preview makes it simple. Open your TIFF in Preview, go to File > Export, choose JPG, and save.
No matter which method you choose, you can quickly convert your high-quality TIFF images into smaller, more shareable JPGs.
Tips for Maintaining Quality During Conversion
When converting between TIFF and JPG, it’s easy to lose some image quality if you’re not careful. Here are some simple tips to keep your images looking their best.
Avoiding compression loss
Compression is what makes JPG files smaller, but it can also reduce image quality. To avoid noticeable loss, try not to repeatedly save the same image as JPG. Each time you save, some detail is lost. If possible, keep a TIFF version as your original and only convert to JPG when you need it.
Recommended settings
Choose high quality: When saving as JPG, select the highest quality option in your software or online tool.
Check resolution: Make sure your resolution matches your needs. For printing, 300 DPI is ideal. For web, 72 DPI is usually enough.
Use lossless options when possible: If your software offers lossless compression for TIFF or JPG, use it to preserve more details.
Following these tips helps ensure your converted images remain sharp, clear, and professional-looking.
Conclusion
Summary of conversion methods
Converting between TIFF and JPG is easier than it seems. You can use online tools for a quick conversion, professional software like Photoshop or GIMP for more control, or built-in apps on Windows and Mac for simple tasks. Whether you’re converting TIFF to JPG or JPG to TIFF, there are options for every level of experience.
Choosing the right format for your needs
The key is knowing what you need the image for. Use JPG when you want smaller files that are easy to share online or upload quickly. Choose TIFF when you need the highest quality, want to edit your images extensively, or are preparing them for print. By understanding the strengths of each format, you can make sure your images look great and work perfectly for your project.
Need to Compress or Convert Files?
Try CompressNow.in - Free, Fast & Secure file compression and conversion tools!

Author Bio – Tanishk Singh
Tanishk Singh is a Digital Marketing Strategist, SEO Specialist, and Web Technology Expert with over 4+ years of hands-on experience in building, ranking, and monetizing high-performance web platforms.
He has helped scale organic traffic for multiple education and SaaS websites, including increasing Shoolini Online’s SEO traffic from 800 to 20,000+ users in just 2.5 months using advanced content architecture, AI-driven SEO, and Google SGE optimization.
Tanishk specializes in creating AI-powered web tools, performance-optimized platforms, and SEO-focused websites that rank, convert, and generate consistent revenue.